Alcove conversion
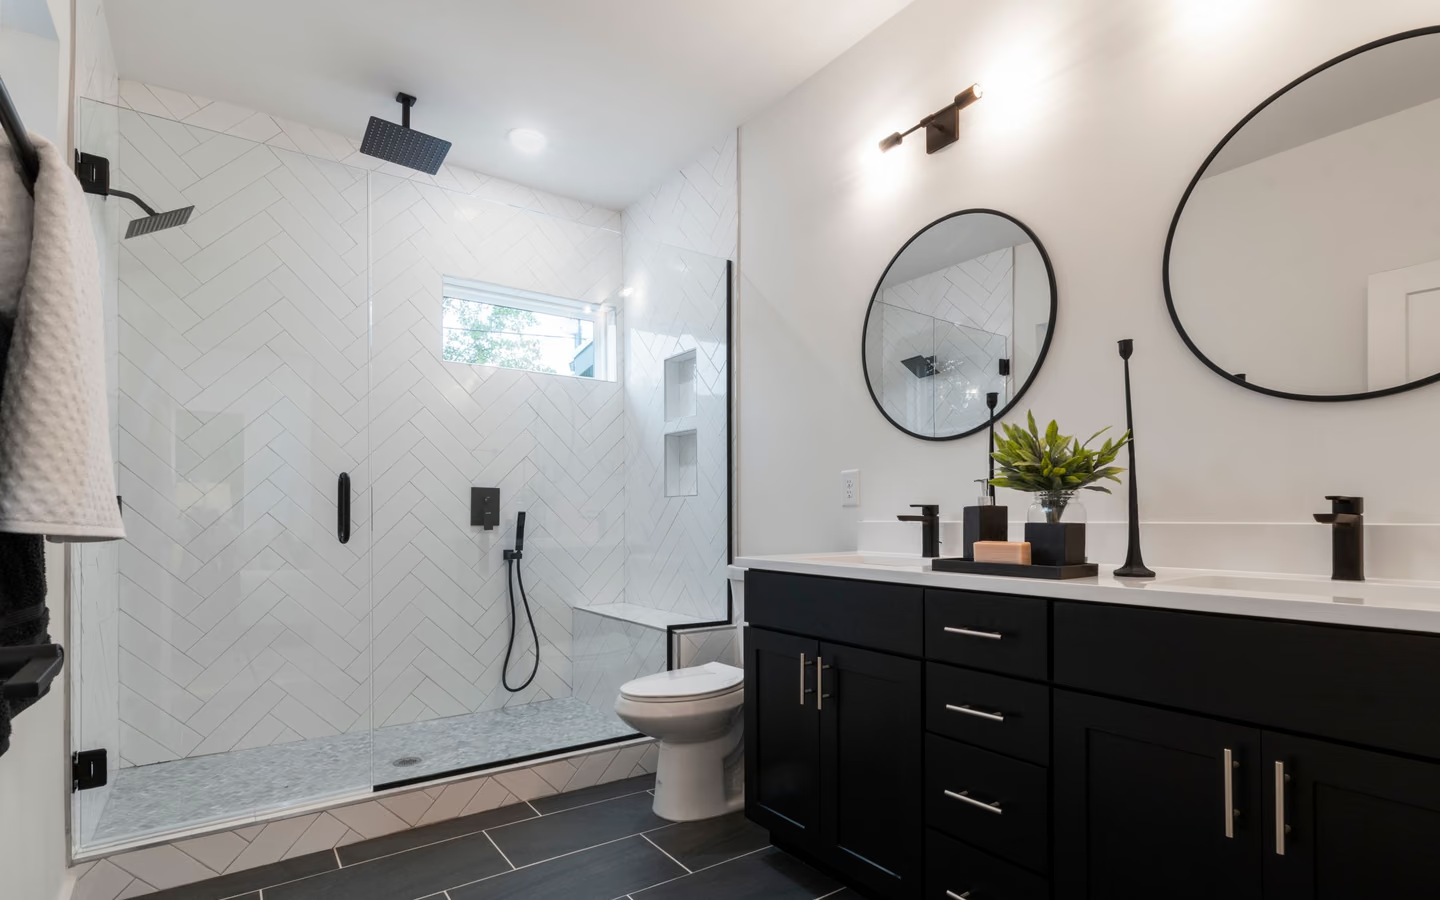
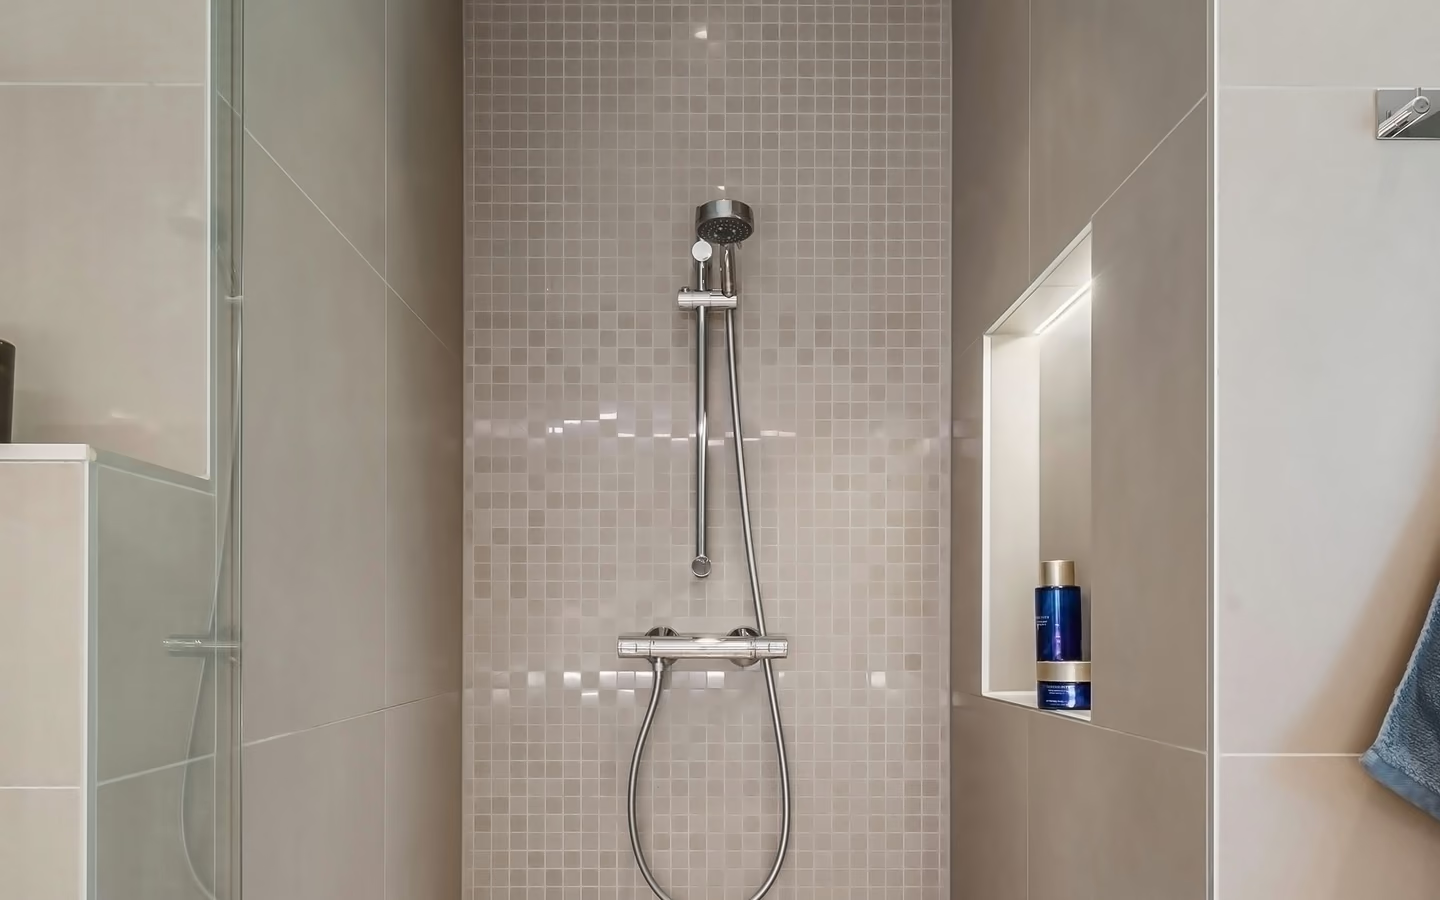
The tub's footprint becomes a three-wall walk-in with a glass front. The most common installation, inheriting plumbing position while upgrading everything else.
Walk-in shower installation
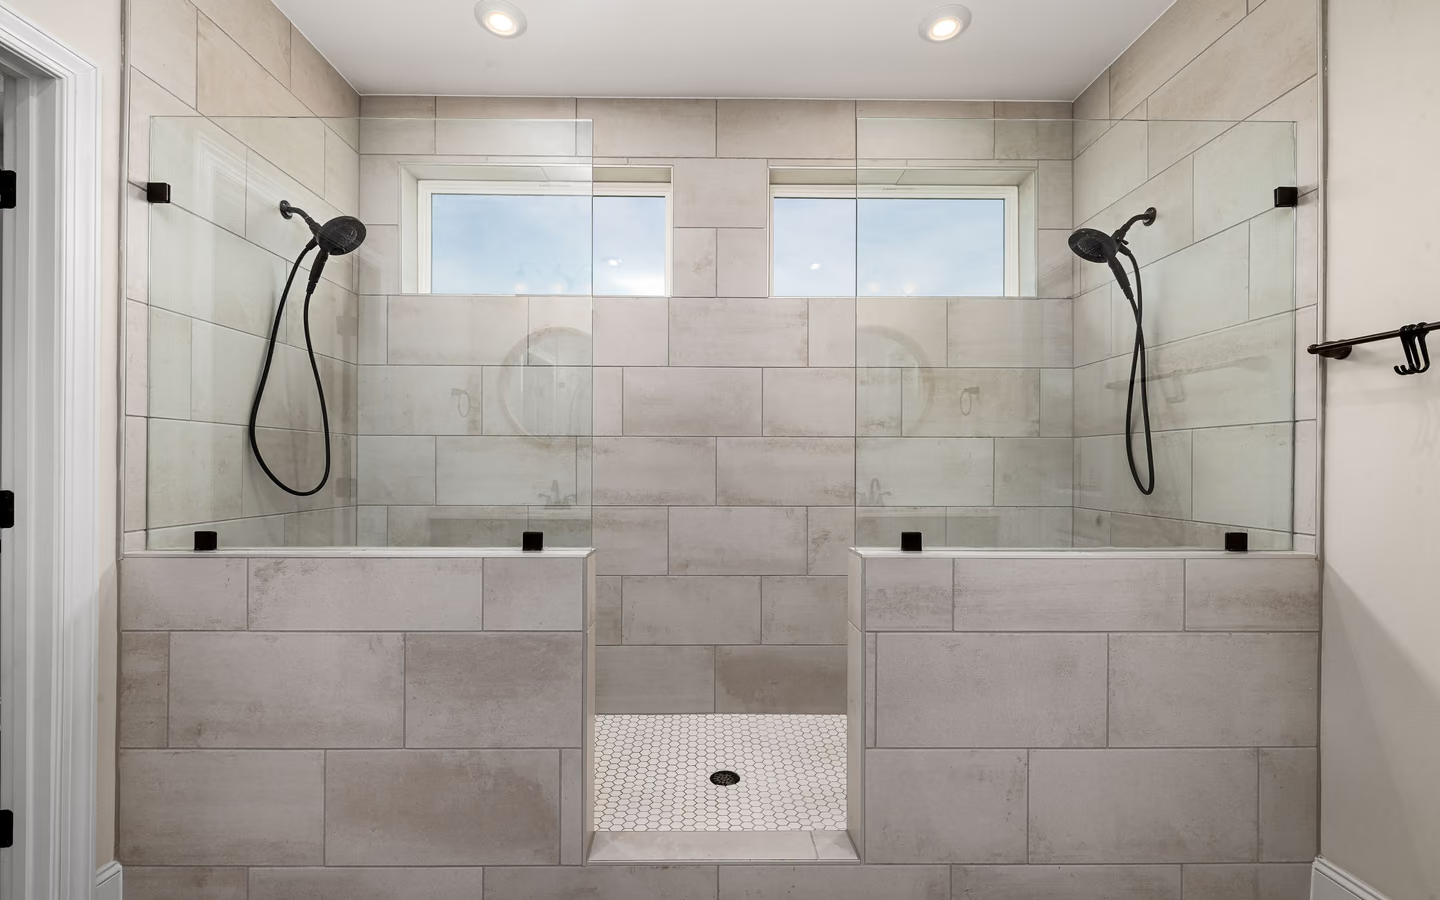
A walk-in shower trades the tub wall's climb for an open, low-threshold entry, and that single geometric change rewrites the room: who can bathe safely, how water must be contained, where glass goes, and what the floor assembly underneath must accomplish. Installing one well is mostly invisible work: slope, membrane, and drainage engineered so an inviting entry never becomes a wet bathroom floor.
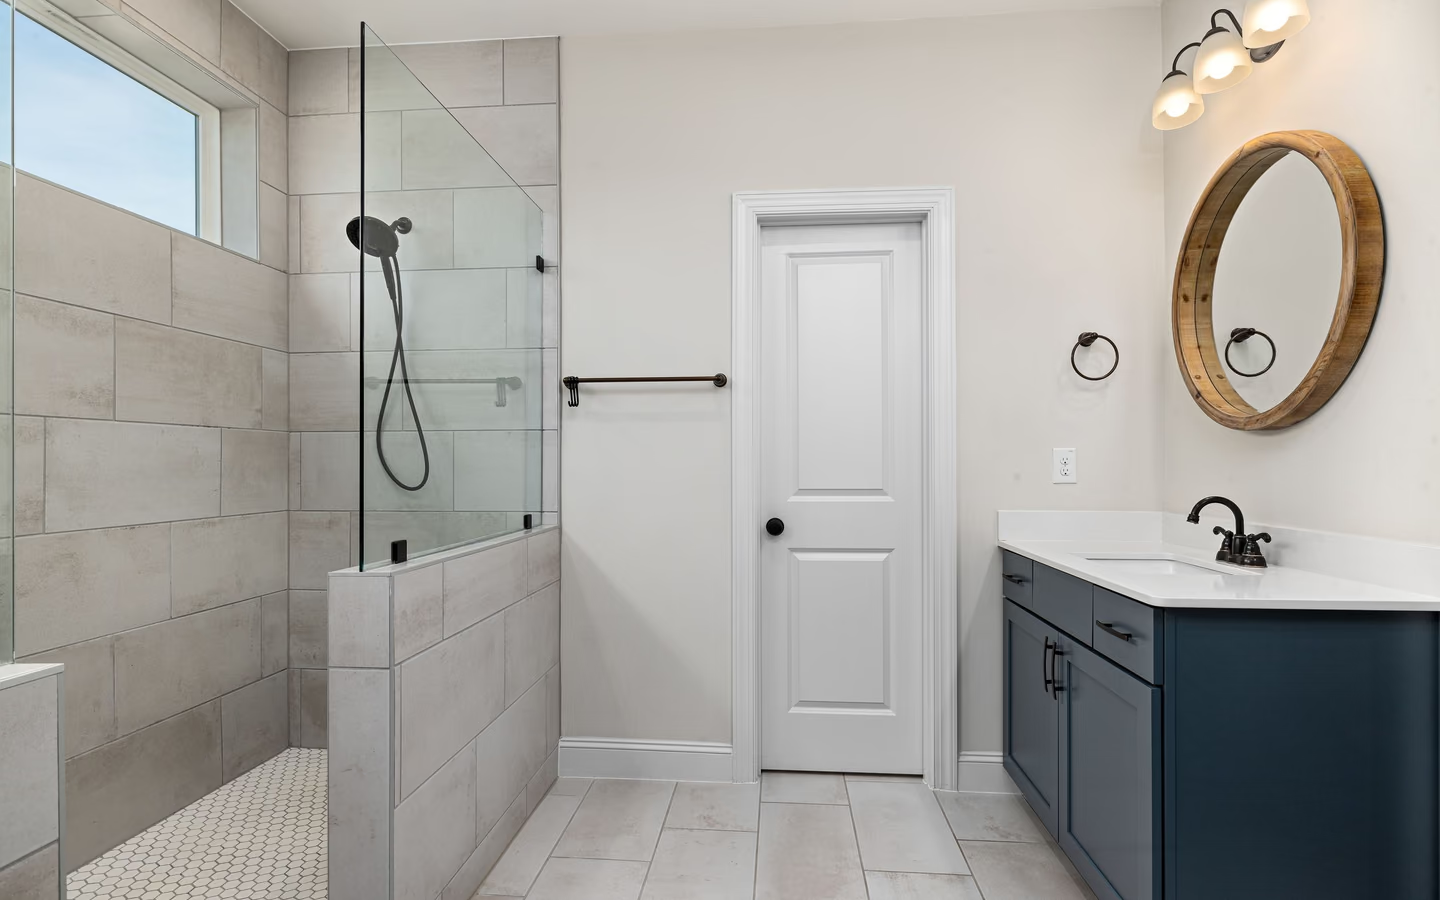
Structurally, a walk-in is a purpose-built wet zone: the old tub or stall comes out, the floor is prepared for a sloped pan with its drain, a membrane system rises through walls and details per tile-industry methods, and finish surfaces, valve set, and glass complete an enclosure whose entry sits at a deliberate height, from a low curb down to level. The lower the threshold, the more the water-management duty shifts from a dam to design: slope geometry, entry width, head placement, and glass layout together keep spray where it belongs.
The access payoff is why the project exists. A low or level entry serves aging knees, post-surgery months, children, and anyone tired of the tub wall; accessibility guidance treats threshold height and clear entry width as the difference between a shower and an obstacle. Blocking for future grab bars belongs in the framing by default, invisible until needed.
Plan the walk-in as a system, not a receptor purchase: pan or site-built base, wall membrane, drain type, bench and niche intentions, and glass strategy chosen together, because each constrains the others once construction starts.
Expect demolition of the existing bathing setup, subfloor and framing preparation, drain placement for the chosen pan strategy, a membrane assembly with the slope the method requires and its cure respected, tile, a valve set roughed to exact models, glass measured after tile, and ventilation verified. Where the entry approaches level, the floor build may recess framing or transition through a linear drain design; that decision is structural and belongs at the start.
Water containment at open entries rewards honest layout: heads aimed across rather than at the opening, glass panels placed where spray actually travels, and floor slope carrying water home even when a squeegee never appears.
Walk-in projects vary mostly at the entry and the floor. These lines show what changes with the threshold.
| Topic | Low-curb walk-in | Level-entry walk-in |
|---|---|---|
| Floor work | Sloped pan above the existing floor plane with a modest curb formed or set. | Recessed framing or a raised surround floor so the slope lands flush at the entry. |
| Drainage | Center or offset point drain with conventional slope-to-drain geometry. | Often a linear drain at the entry or back wall, letting one plane carry the fall. |
| Containment | The curb assists; glass and head placement complete the job. | Design does everything: slope, entry width, glass returns, and spray planning. |
| Access | A single low step most users clear easily. | Roll-up, walker, and bare-foot equality; the accessibility guidance ideal. |
The tub's footprint becomes a three-wall walk-in with a glass front. The most common installation, inheriting plumbing position while upgrading everything else.
Two glass planes open a corner footprint, suiting rooms where the alcove wall is needed elsewhere; entry angle and door swing decide daily comfort.
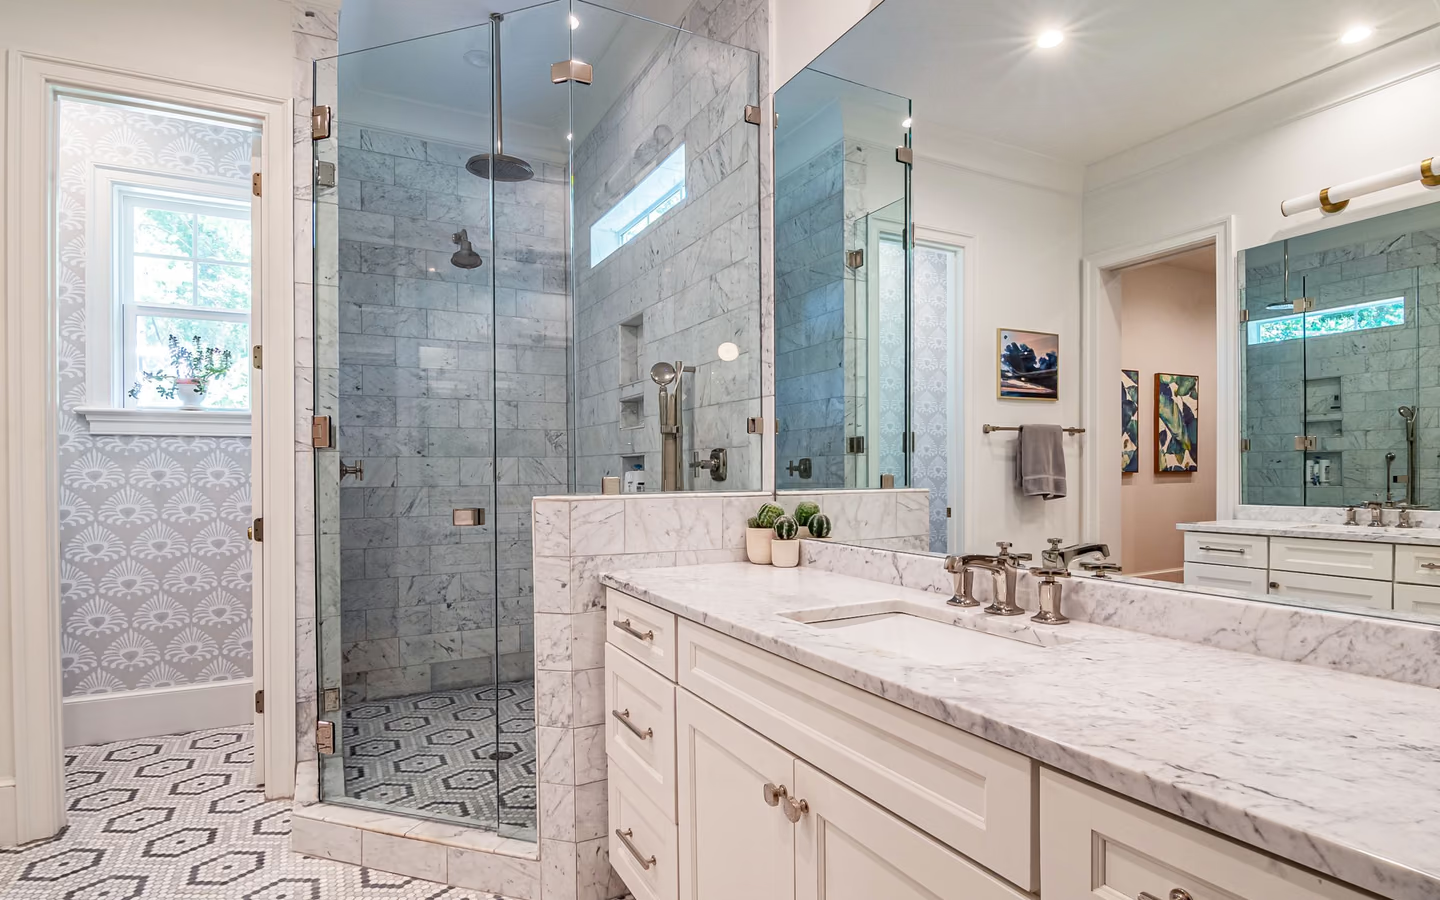
A single fixed panel and no door, with containment carried by slope and head placement. Minimal maintenance and visual openness for rooms that can spare the width.
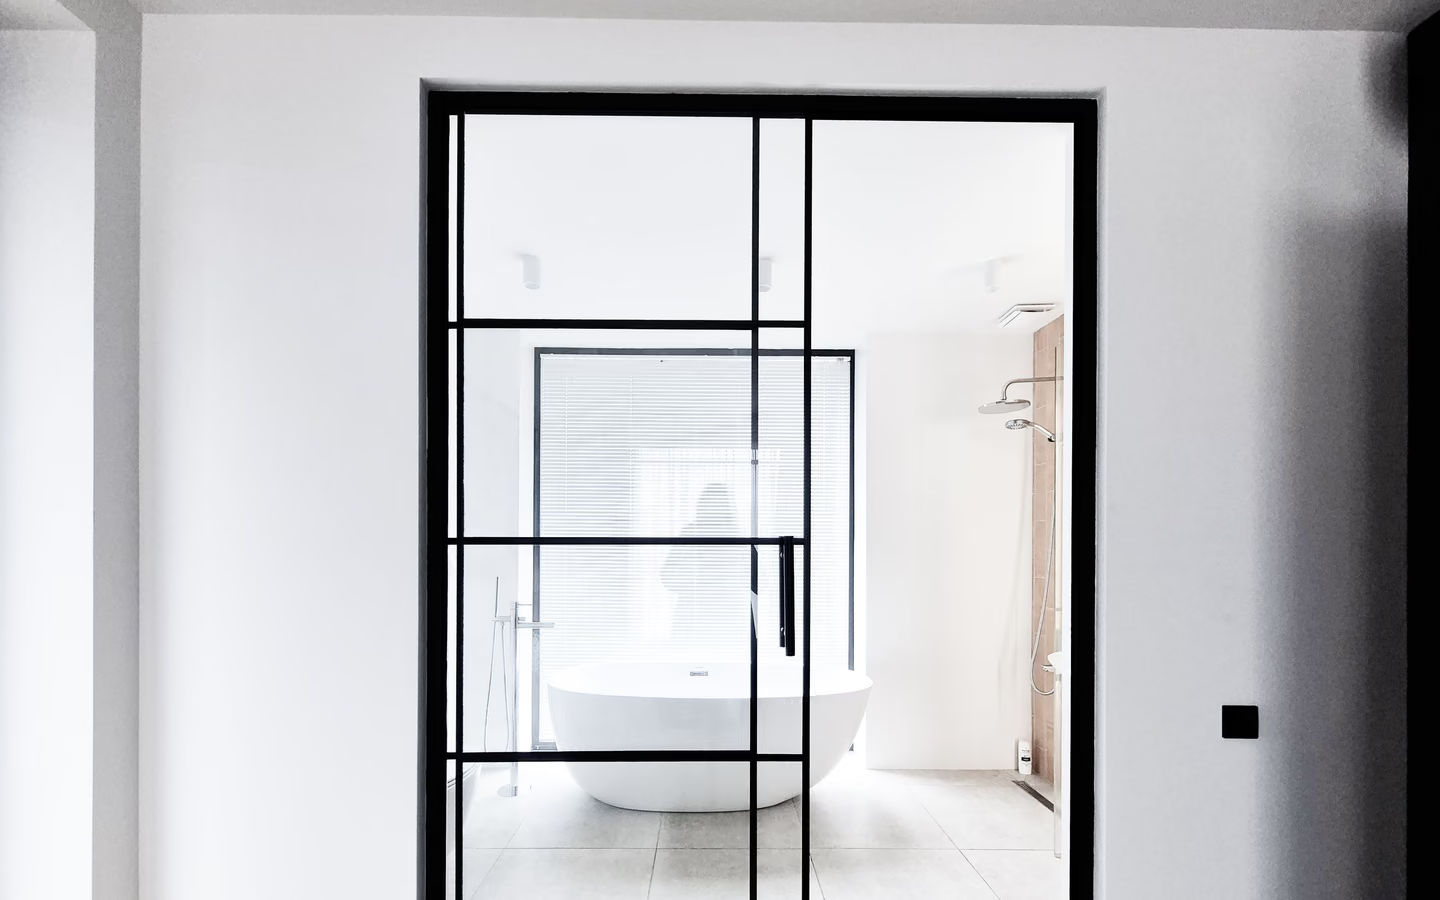
Flush threshold with linear drainage and recessed floor work: the full accessibility expression, engineered from the joists up.
The invitation is the entry; the reliability is below it.
The CallBathroom room view
Select a planning zone to see why visible choices and concealed systems need one coordinated scope.
Start with door swing, circulation, fixture clearances, and the paths people use most often.
Threshold ambition and floor structure set the spread. A low-curb conversion in a cooperative alcove prices like a quality shower rebuild; a level entry adds recess framing or floor build-up, linear drainage, and design time, all labor-forward lines that published trade wage data prices across carpentry, plumbing, and tile. Glass strategy is the second lever: a single fixed panel costs a fraction of a multi-panel enclosure with a swinging door.
Regional price levels shift identical walk-in scopes between metros; use modeled national ranges as orientation, and let written proposals against your chosen threshold and glass plan carry the decision.
Turn decisions into a clearer brief
Organize what should stay, what needs to change, and which measurements or conditions still need professional verification.
Threshold, width, containment strategy, and fixture positions settle on paper, with structure checked for what the entry demands.
The old bathing setup exits; framing, subfloor, and any recess work prepare the geometry the design requires.
Drain set to the strategy, valve and heads roughed to exact models, inspections where required before closing.
The waterproofing assembly goes in per its method, cures on its schedule, and gets its flood or spray test where the system calls for one.
Floor and walls execute the layout, trim sets, and the room's new geometry becomes visible.
Panels measured off finished tile and installed, water tested at full flow with containment observed, airflow verified.
Threshold height and entry width stated as numbers
The pan strategy and membrane method named
Drain type and slope plan described
Glass scope itemized: panels, door, hardware, measurement timing
Level-entry promises with no floor-structure discussion
Containment left to a future squeegee
Blocking and supports treated as change-order territory
Common questions
The entry. Walk-in means the threshold shrinks toward level and the opening invites rather than obstructs, which upgrades both access and design while transferring water containment from a dam to engineering: slope, spray planning, and glass layout doing the work a tub wall once did.
Most can, by one of two routes: recessing the framing where structure allows, or building the surrounding floor up to meet the pan. Both are real construction with real costs; the honest feasibility answer comes from under your floor, not from a brochure.
Poorly designed ones do. Head placement aimed across the space, adequate depth, and a fixed panel where spray travels keep water contained, and warm floors or generous room heat answer the draft question better than a glass box does.
When shaving, aging, or fatigue are in the room's future, yes, and it must be decided before waterproofing since a bench is framed and membraned, never bolted on. Fold-down seats on blocking offer the middle path in tight footprints.
Doors contain best in tight widths and warm the enclosure; open entries reward wider footprints with easier access and nothing to squeegee or maintain. The room's dimensions and users make this decision more honestly than style preferences do.
A well-built walk-in reads as current and serves the widest range of buyers, especially where a second tub exists elsewhere in the home. Keep one tub in the house for family flexibility and the walk-in becomes pure upgrade.
Comparable to a quality shower rebuild: demolition through membrane cure, tile, then glass measured after tile with its fabrication interval. Level-entry floor work adds front-end days; the calendar's fixed points are cure, inspection, and glass.
Less hardware than framed doors and more attention to the floor: keep drains clear, respect the slope's job, and reseal the entry's few joints on the schedule the installer specifies. The simpler the enclosure, the shorter this list.
Research & methodology
References supporting the planning guidance on this page.
Your clearer next step
You do not need a finished drawing, complete product list, or every design decision before the first call. Be ready to describe the current room, what is not working, and your priorities for bathing, storage, lighting, access, style, budget, or timing.