Build the wet area as a system

Plan a shower from the drain to the glass

A reliable shower remodel coordinates the receptor, waterproofing, wall finish, valves, storage, entry, enclosure, ventilation, and surrounding bathroom before demolition begins.

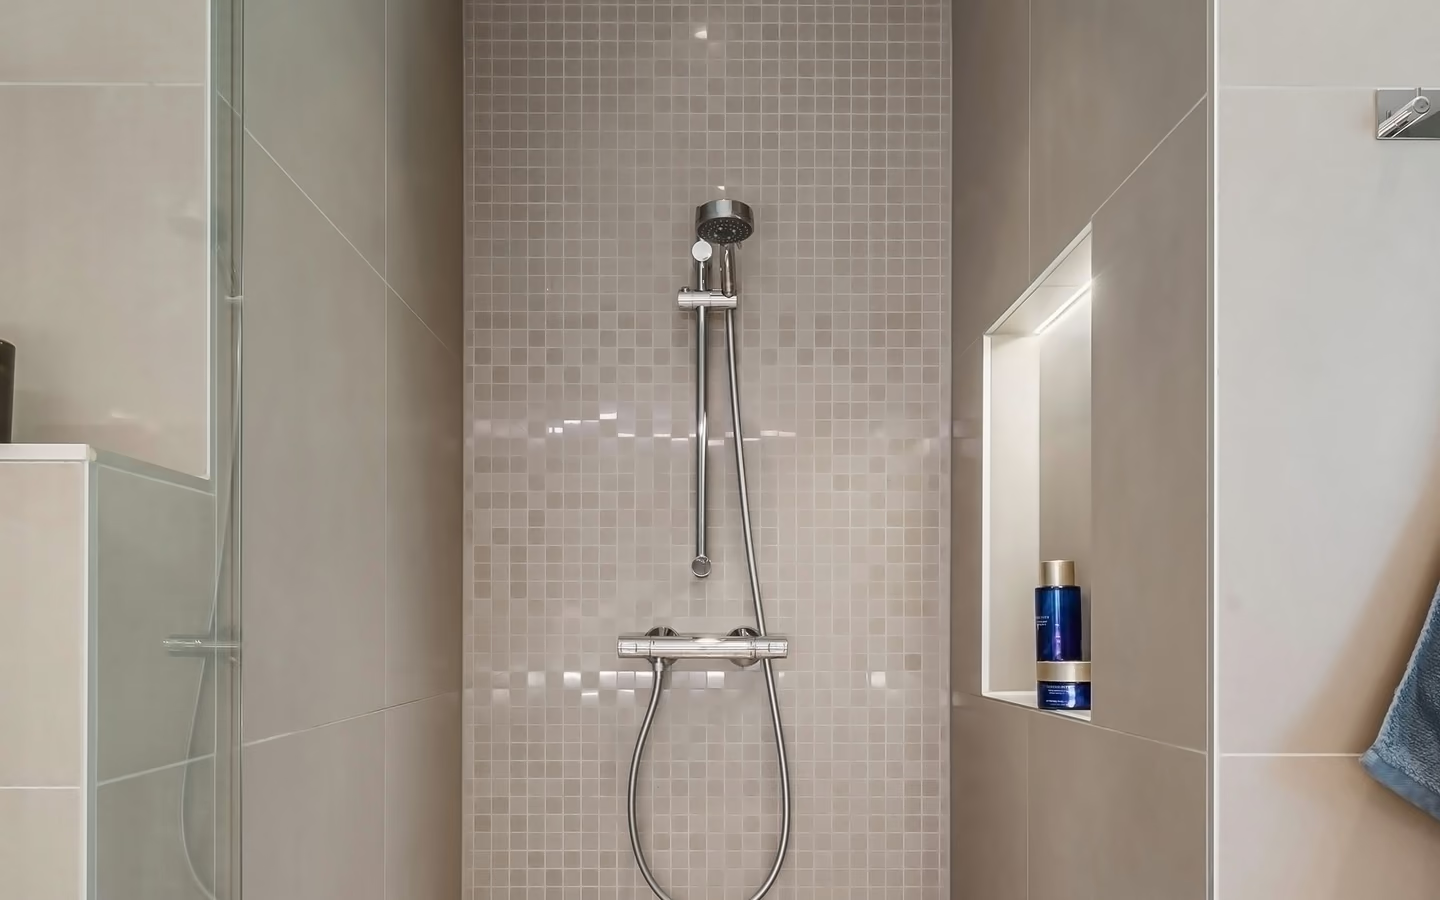
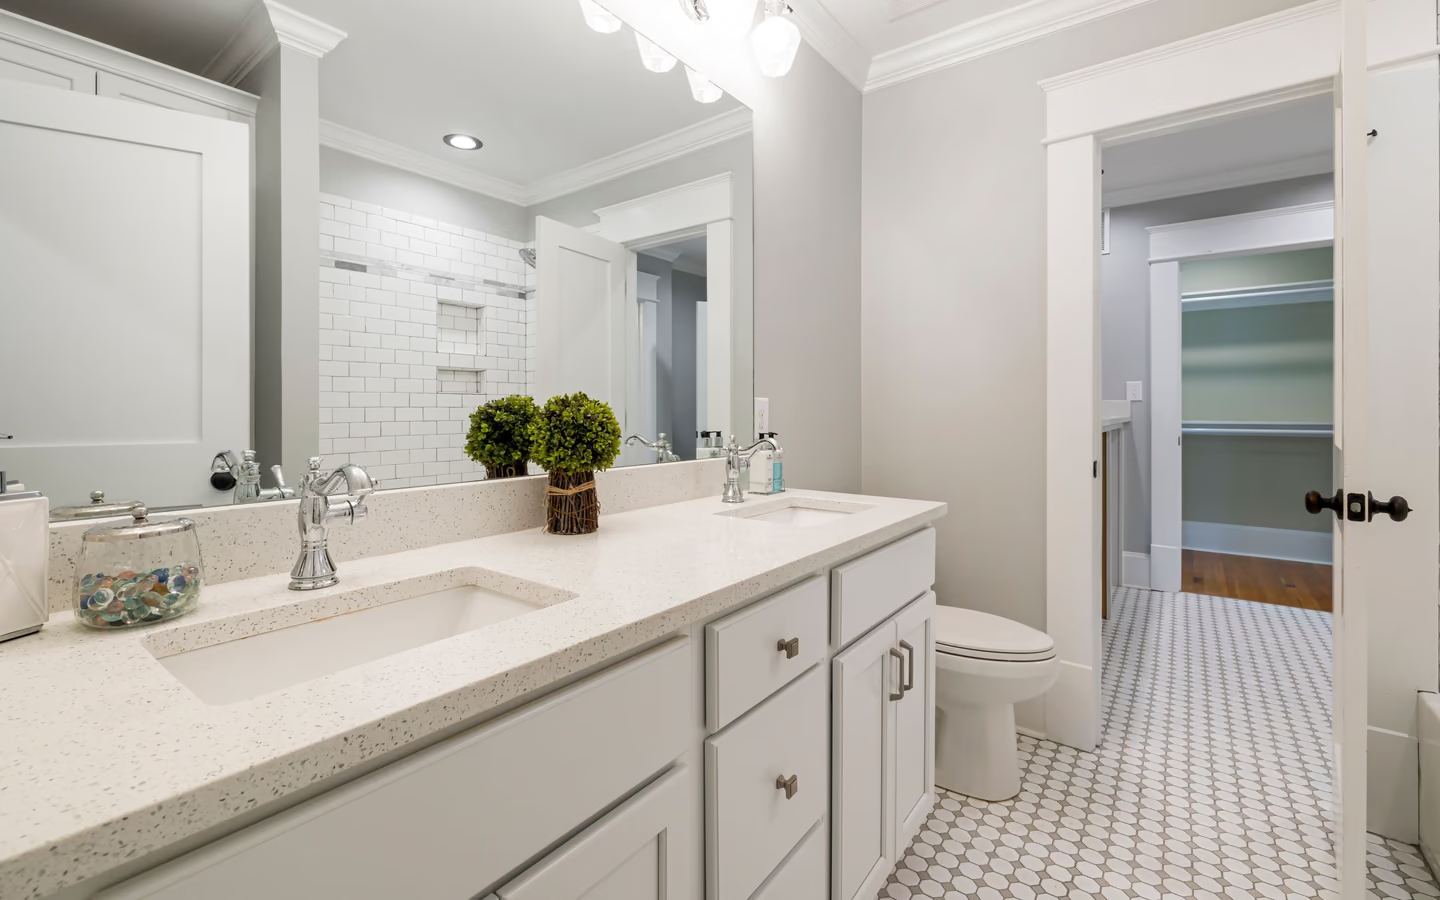
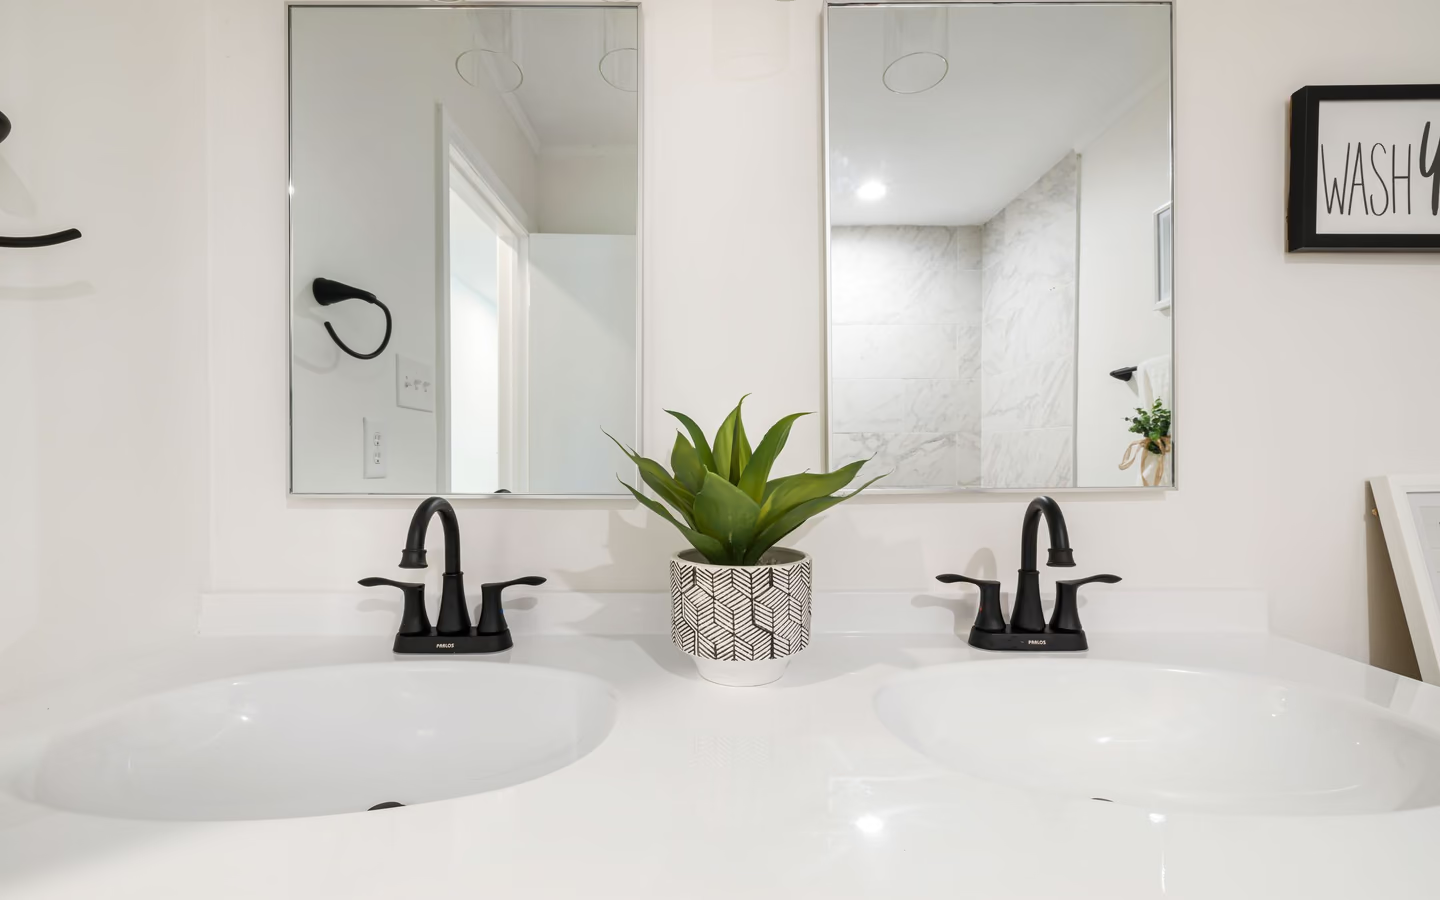
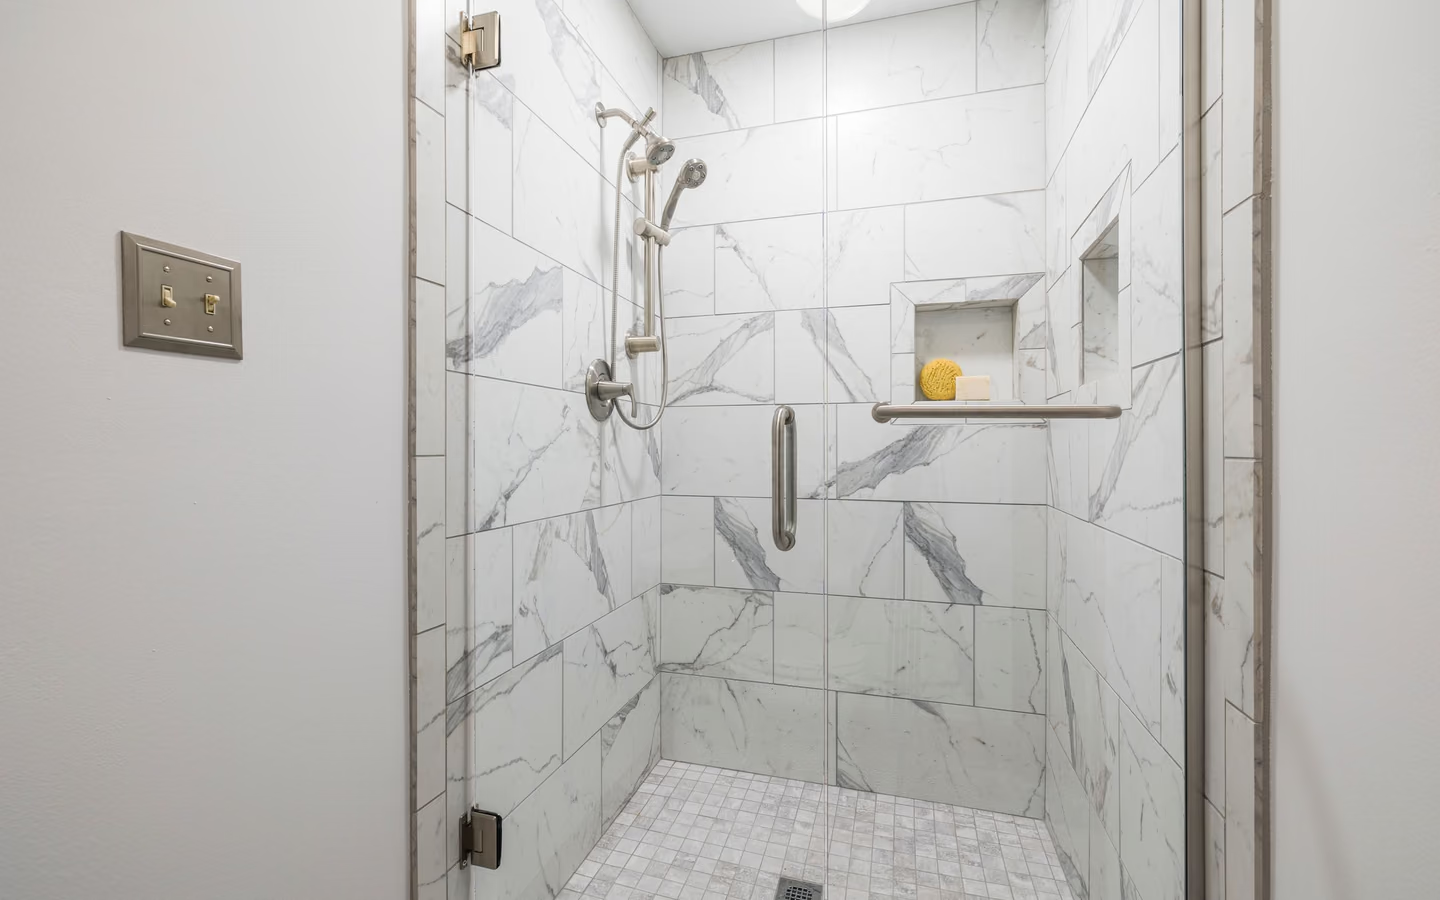
Spa-like walk-in shower finished in bright marble tile with clear glass and built-in storage
Spa-like walk-in shower finished in bright marble tile with clear glass and built-in storage.

What does a shower remodel include?

A shower remodel replaces or reworks the complete wet-area assembly, not only the surface that can be seen. The written scope should connect the receptor or shower floor, drain, slope, waterproofing, wall substrate, tile or panels, penetrations, valves, shower outlets, storage, enclosure, sealants, ventilation, and transitions to the rest of the bathroom.

The first decision is the project boundary. A same-footprint rebuild may keep the drain and valve close to their current locations while replacing the assembly around them. A larger or lower-entry shower can affect floor structure, plumbing routes, wall framing, lighting, bathroom flooring, circulation, and glass dimensions. The broader option should solve a measured problem rather than add work without a clear benefit.

Document the existing opening, signs of damage, floor elevation, drain position, valve wall, ceiling, nearby fixtures, approach path, and surrounding finishes. Then record how the shower should improve entry, bathing, reach, storage, splash control, cleaning, and future use. Those observations give a professional a useful starting point for field verification and a comparable proposal.

See the whole installation

Connect the finished shower to the work behind it

A useful plan describes how water enters, moves through, and leaves the shower while keeping the room practical to use and maintain.

Start at the shower floor. The selected receptor or site-built assembly establishes the footprint, finished elevation, slope, drain relationship, entry condition, and connection to the bathroom floor. The wall system must meet that floor assembly continuously at corners, penetrations, niches, benches, curbs, and edges. Tile and grout contribute to the finished surface, while the specified system behind them manages water.

Lay out valves, showerheads, a hand shower, controls, storage, seating, lighting, and support before the walls close. Their positions affect plumbing rough-ins, blocking, waterproofing penetrations, reach, spray direction, and service access. Enclosure decisions belong in the same plan because fixed panels and doors affect containment, clear opening, hardware support, towel placement, and cleaning access.

The shower also shares air, light, circulation, and finish transitions with the rest of the bathroom. Review the ventilation path, rated lighting where needed, floor traction, nearby doors and drawers, paint and trim repair, and the route used to enter and leave the space. A narrow shower scope can work well when those interfaces are stated rather than assumed.

  • Define the complete floor, drain, and waterproofing assembly
  • Coordinate every penetration and support point before close-in
  • Show how the shower meets glass, walls, ceiling, and bathroom floor
  • Separate visible selections from conditions that still need verification
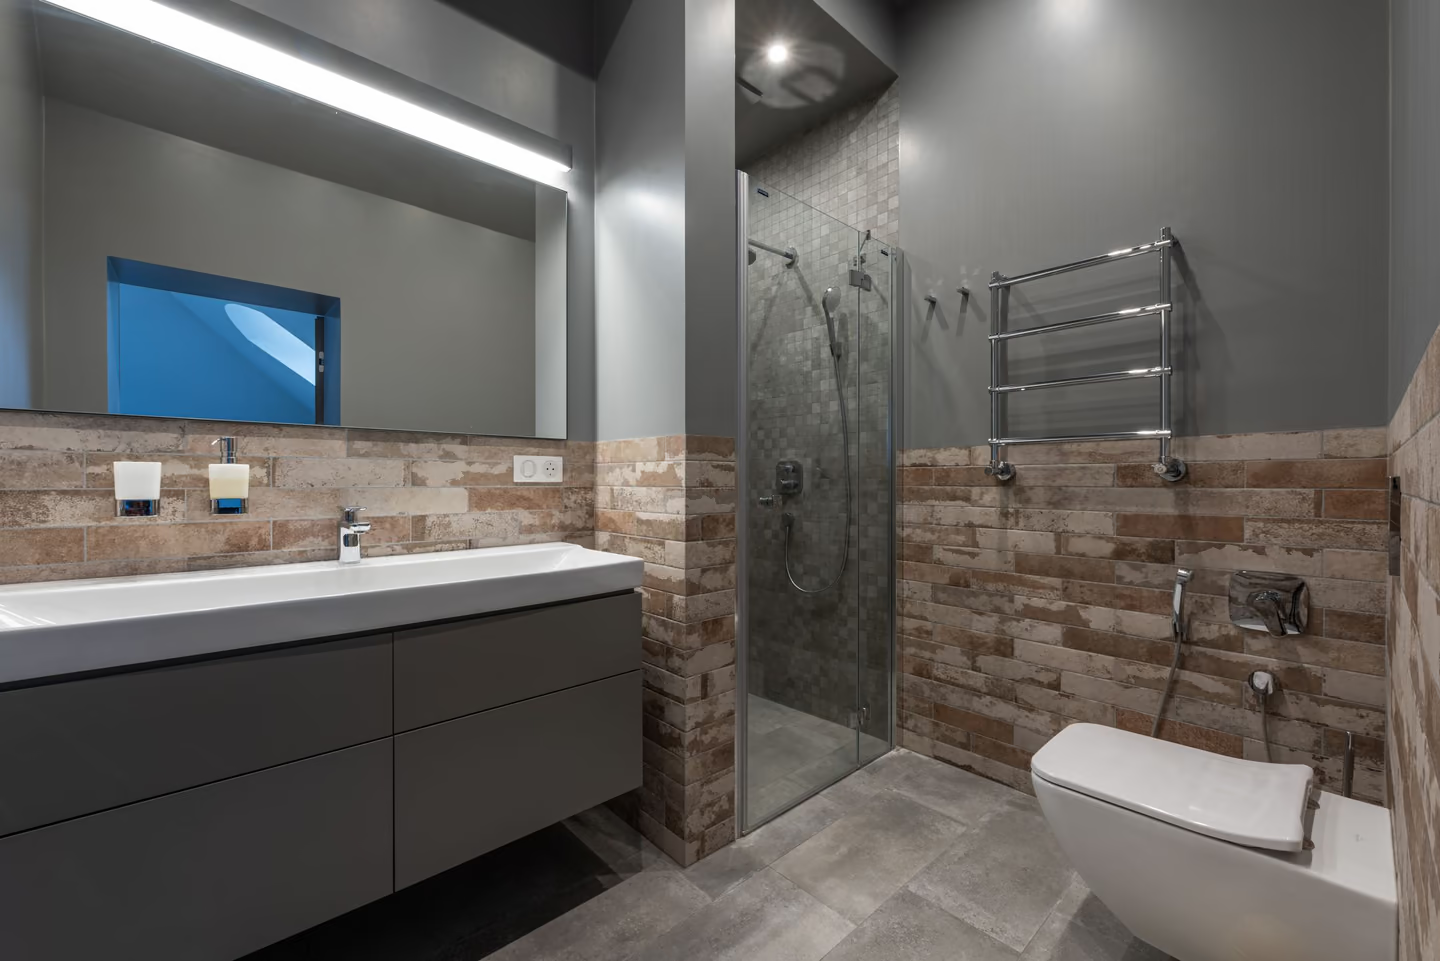
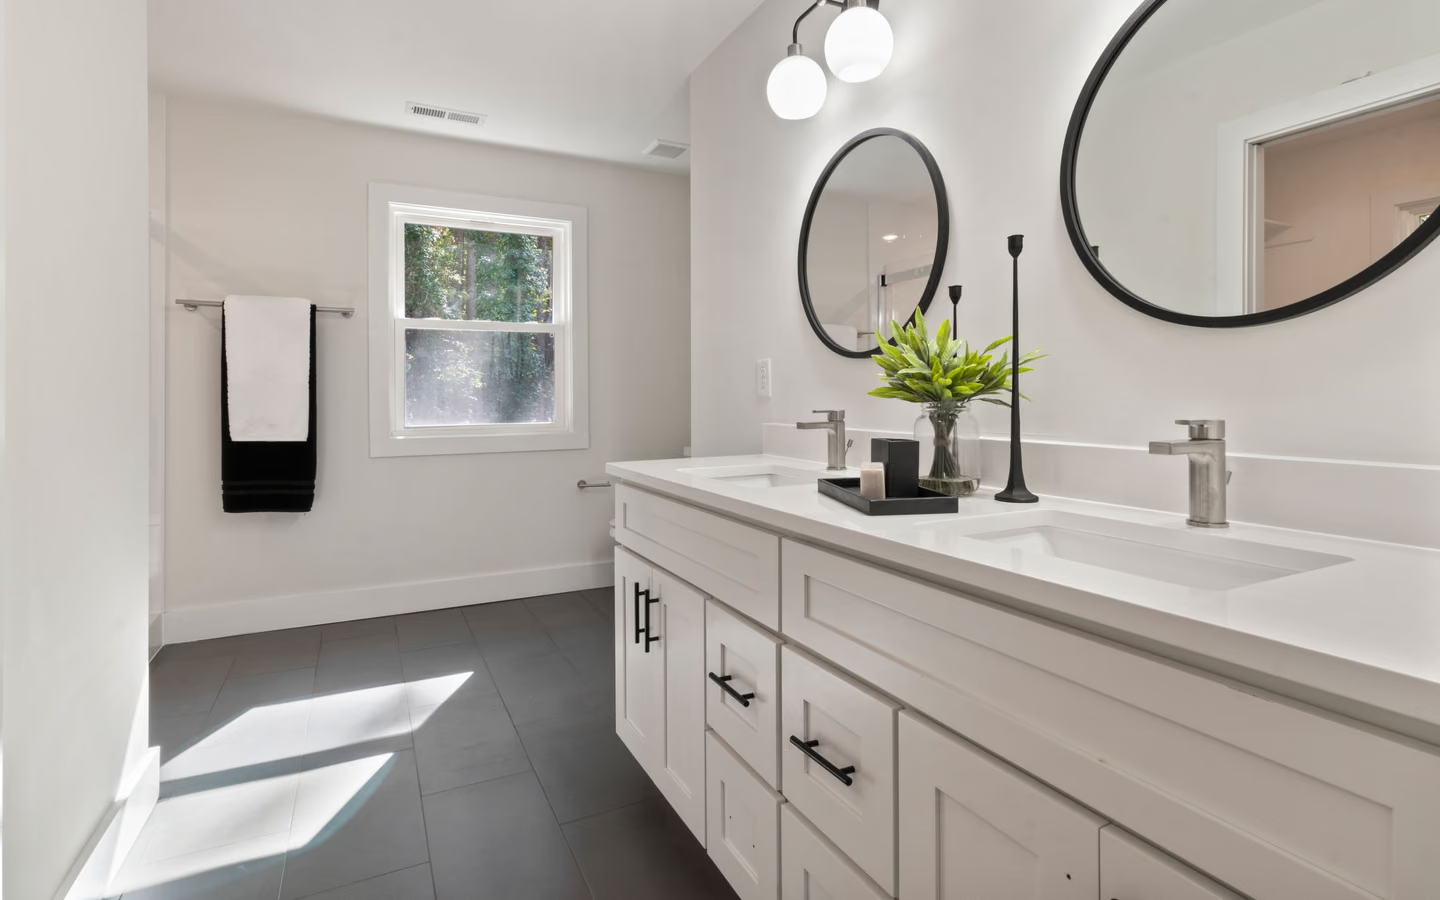
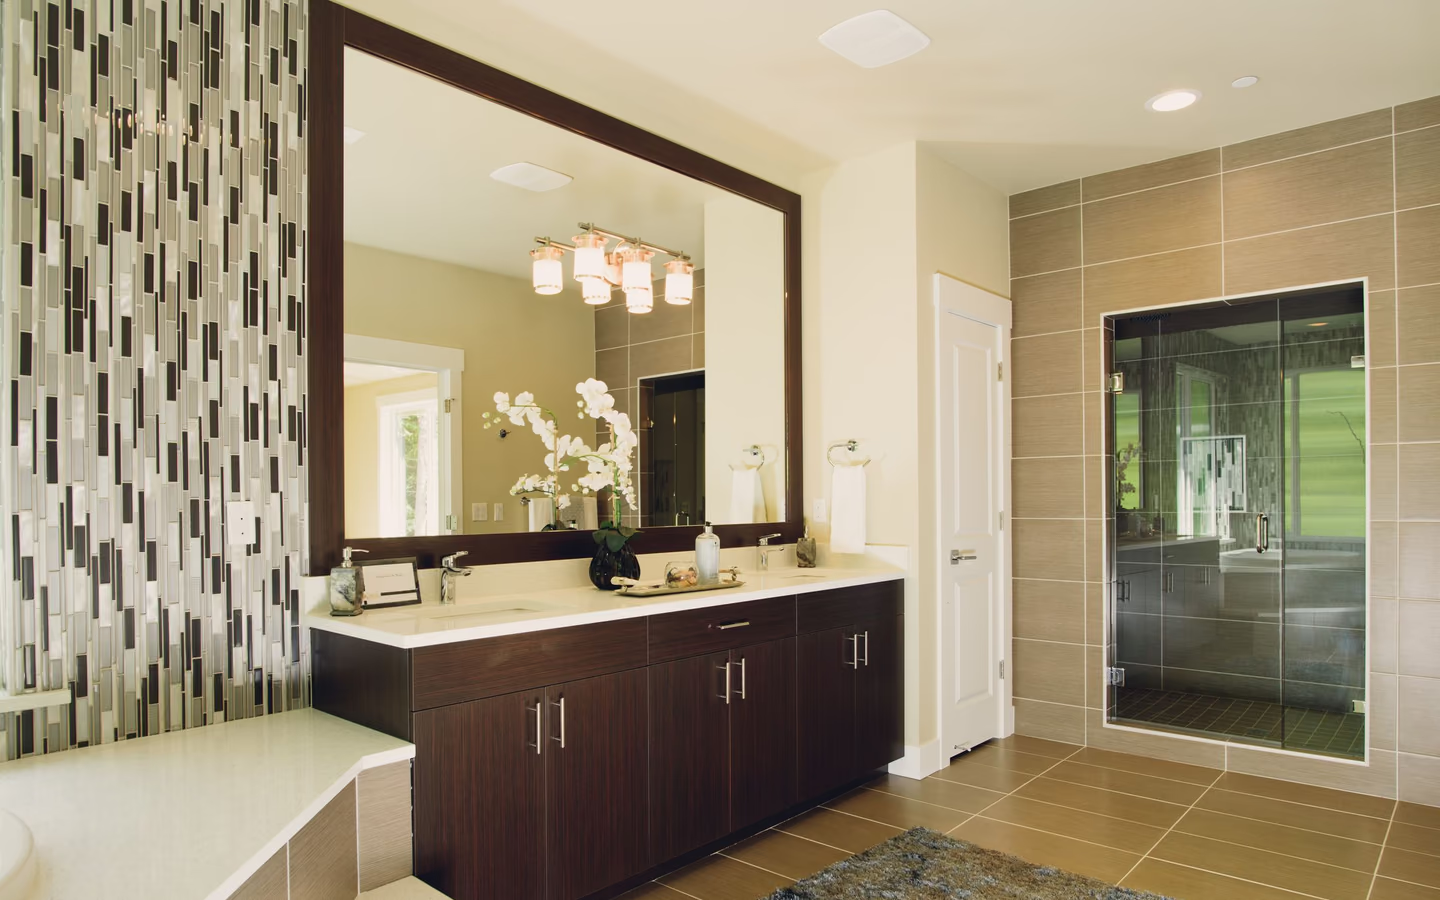
Modern bathroom with a glass shower enclosure and neutral tile
Modern glass-enclosed shower with a restrained neutral material palette.
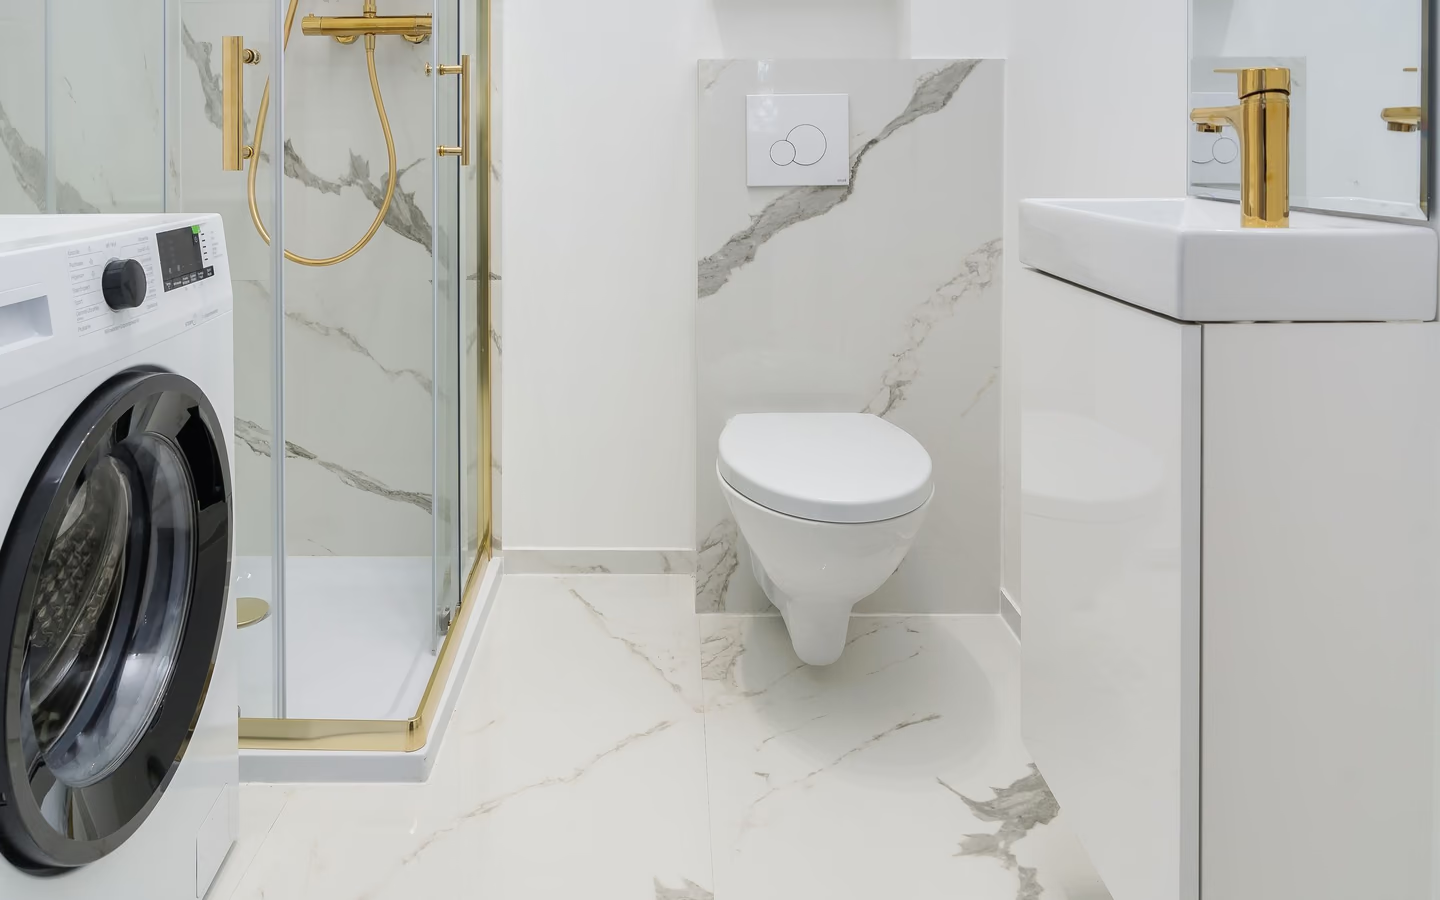
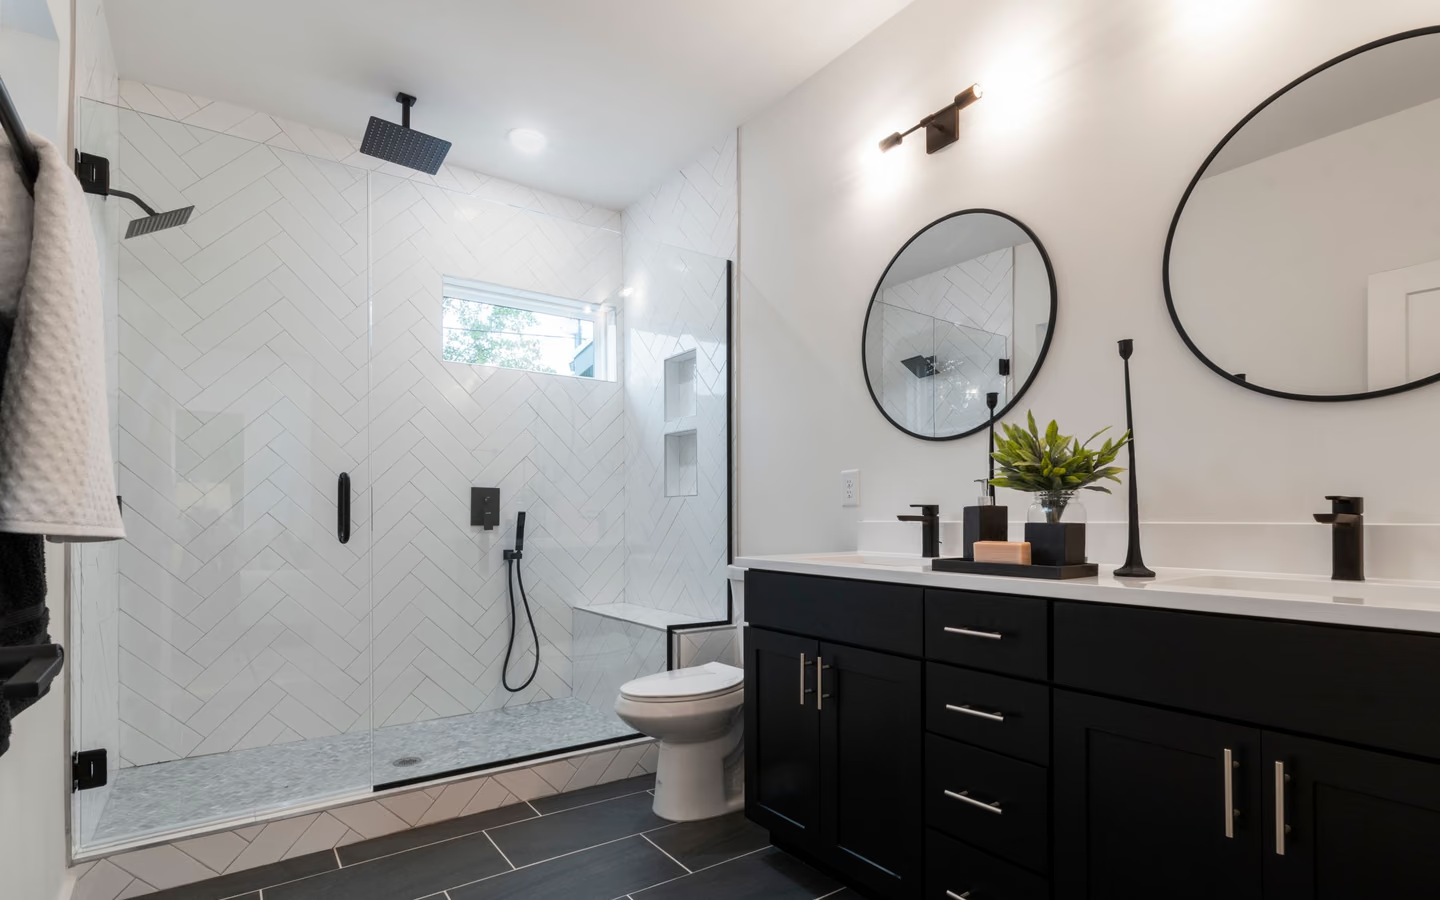
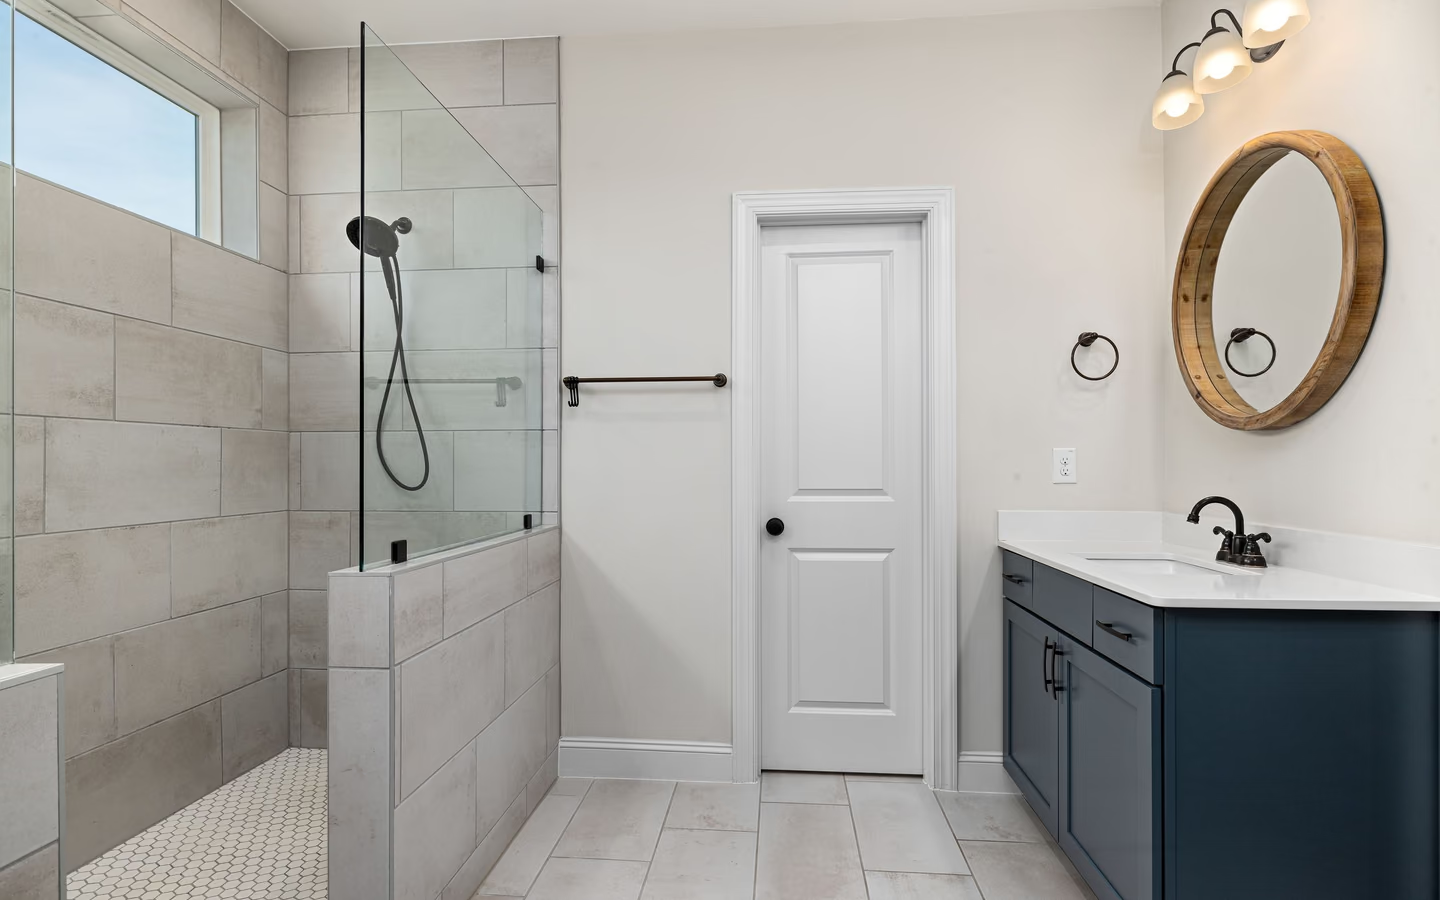
Minimal modern bathroom with a floating vanity, open shower, and restrained white surfaces
Minimal modern bathroom with a floating vanity, open shower, and restrained white surfaces.

Compare the same footprint with a reconfigured shower

Both approaches need a complete wet-area scope. The difference is how many room relationships and concealed routes change with the new design.

Two common shower remodeling paths and the checks that keep each one complete.
TopicSame-footprint rebuildExpanded or reconfigured shower
Best fitThe existing opening, circulation, and rough-in locations support the desired bathing experience.A larger footprint, different opening, or new fixture arrangement solves an identified entry, reach, storage, or circulation problem.
Main coordinationVerify the current structure and routes, then define the new receptor, walls, fixtures, glass, and surrounding repair.Trace changes to framing, floor elevation, drain and vent routes, water supply, wiring, ventilation, finishes, and adjacent fixtures.
Proposal focusName retained work, demolition limits, complete assembly layers, repair boundaries, products, testing, and closeout.Show the measured benefit, compare it with a same-footprint option, and list every added dependency and decision milestone.

Project options

Choose the shower that fits the room and routine

The right scope follows the existing conditions, household priorities, and complete assembly rather than a style label alone.

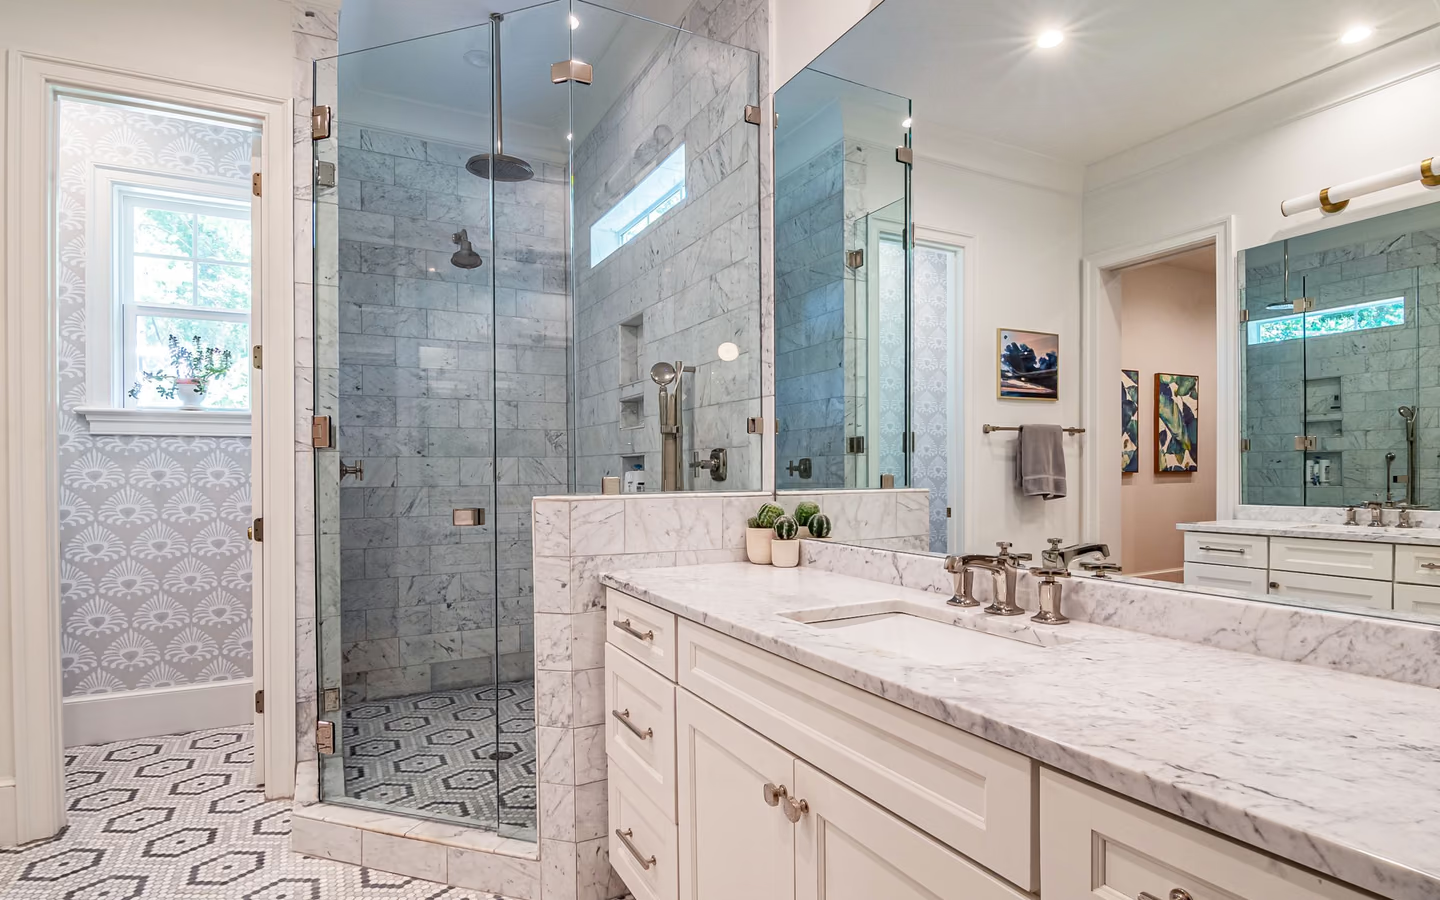
Mediterranean-inspired bathroom with marble counters, a glass shower, and patterned finishes

Same-footprint shower rebuild

Keep the useful opening and similar rough-in locations while replacing the shower floor or receptor, waterproofing, wall finish, fixtures, storage, enclosure, sealants, and transitions. Verify whether nearby paint, trim, ceiling, or bathroom flooring repair belongs in the work.

  • Confirm actual opening and finished dimensions
  • Name the complete compatible assembly
  • Define surrounding repair and closeout
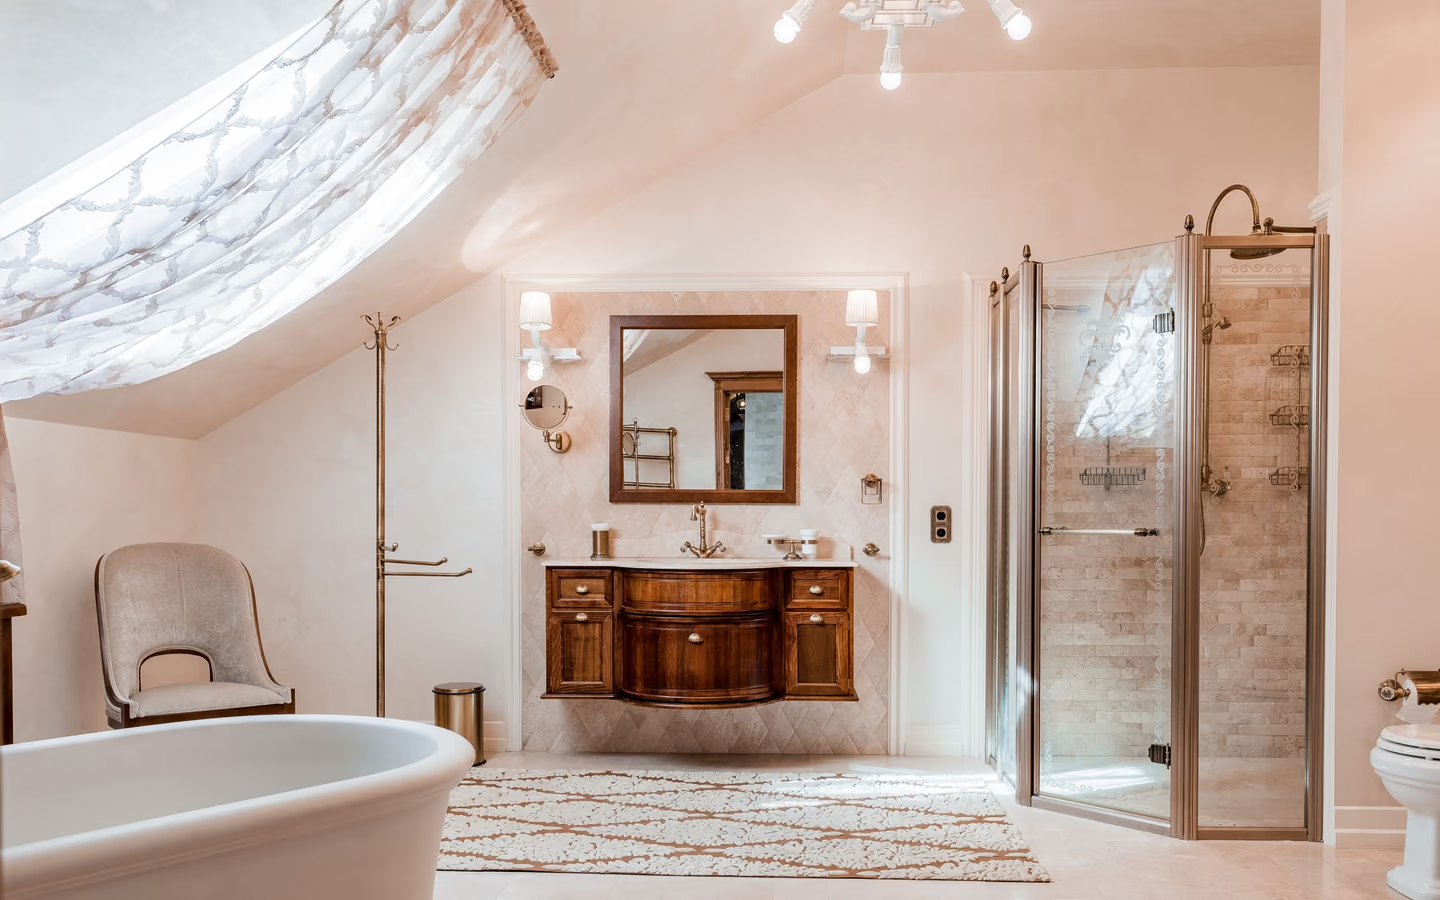
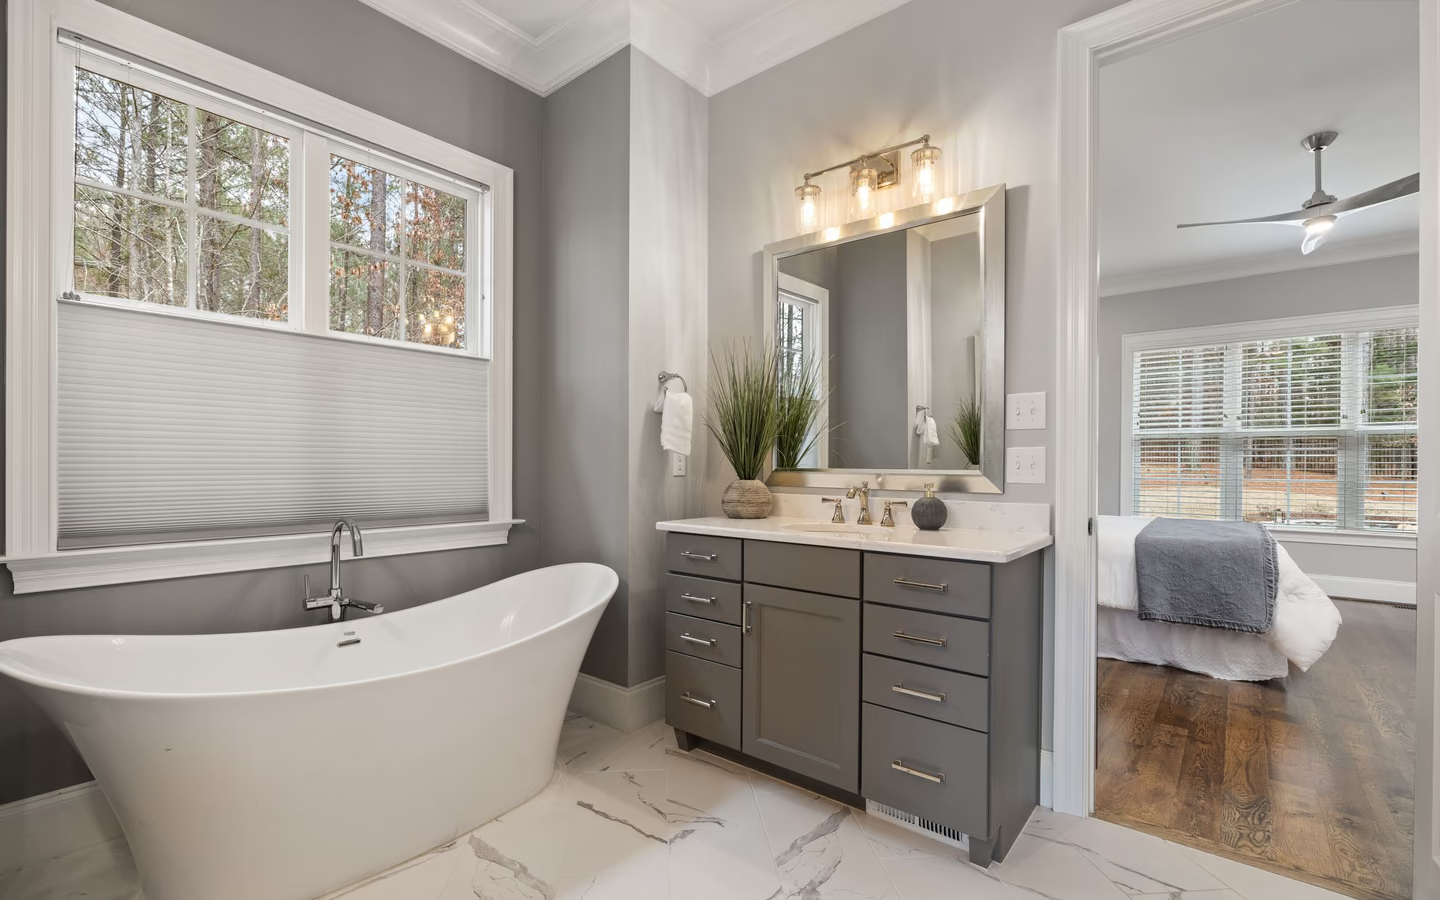
Warm neutral bathroom with a wood vanity, freestanding tub, and softly lit shower

Custom tile shower

Use a site-built floor and tiled walls when the room benefits from custom dimensions, drain placement, niches, benches, or a specific finish layout. The proposal should identify preparation, slope, waterproofing, movement details, edge treatment, grout, sealants, testing, cure time, and maintenance.

  • Review floor and wall elevations
  • Coordinate niches, benches, and penetrations
  • Confirm tests and cure milestones

Manufactured shower system

A coordinated receptor and wall-panel system can reduce some field fabrication and joint decisions when it fits the opening and project goals. Compare exact dimensions, base support, drain compatibility, seams, trim, valve penetrations, repair access, available accessories, installation requirements, and replacement options.

  • Measure the opening against the exact system
  • List required accessories and trim
  • Confirm substrate and installation requirements

Lower-entry shower

A lower curb or near-level transition can improve entry, but it needs a coordinated floor section. Review structure, drain route, slope, bathroom-floor elevation, waterproofing boundary, splash control, enclosure, approach, seating, controls, traction, and support around the intended user.

  • Draw the transition from structure through finish
  • Test entry, reach, and water control together
  • Verify product-specific support and clearances

Plan each layer and interface before installation

A finished shower is only as dependable as the connections between its structure, water-management system, fixtures, enclosure, and surrounding room.

The CallBathroom room view

A bathroom remodel has more than one layer

Select a planning zone to see why visible choices and concealed systems need one coordinated scope.

Layout

Start with door swing, circulation, fixture clearances, and the paths people use most often.

Concept plan: verify dimensions and requirements for the actual room
Receptor and floor
Choose a manufactured base or site-built shower floor with known dimensions, support, finished elevation, slope, drain connection, surface, and transition to the bathroom floor.
Drain and plumbing route
Confirm drain position, pipe route, vent relationship, floor structure, service conditions, slope geometry, and any consequence of moving the drain before approving the layout.
Waterproofing continuity
Specify one compatible approach across the floor, walls, corners, curb or transition, drain, penetrations, niche, bench, and boundary with the rest of the room.
Walls and finish
Coordinate substrate, tile or panels, layout, joints, corners, exposed edges, ceilings, penetrations, sealants, cleaning, repair access, and the point where wet-area finishes stop.
Valves and shower outlets
Place controls, showerheads, a hand shower, diverters, body outlets, and hoses around reach, safe operation, spray direction, rough-in depth, support, service access, and hot-water demand.
Storage, seating, and support
Size niches, ledges, benches, movable seating, and future support locations around products, users, drainage, standing room, waterproofing, framing, cleaning, and fixture reach.
Glass and entry
Coordinate clear opening, door movement, fixed panels, hardware support, ceiling conditions, splash control, towel reach, bathroom circulation, ventilation, and cleaning access.
Room transitions
Define the repair and finish at the bathroom floor, adjacent walls, ceiling, base, casing, paint, lighting, fan, switches, and any fixture affected by the work boundary.

Cost and timeline

Scope, conditions, and product sequence shape the project

Use cost guidance to organize assumptions, not as a substitute for a measured room and a written proposal.

Footprint and entry: keeping a useful opening can limit some framing and finish repair. Expanding the shower or lowering the transition can affect floor structure, drain routing, waterproofing, bathroom-floor elevation, glass, and adjacent fixtures. Compare the measured benefit with a complete same-footprint option.

Receptor, drain, and waterproofing: manufactured and site-built assemblies carry different dimensions, preparation, slope, testing, finish, and sequencing requirements. A proposal should name the complete system, compatible materials, installation standard, test milestones, and responsibility for corrections.

Wall finish and details: tile area, module size, pattern, cuts, exposed edges, corners, grout, niches, benches, penetrations, panels, seams, substrate, and cleaning all affect material and labor. Review elevations and quantities before ordering or rough-in decisions are fixed.

Fixtures and glass: valves, outlets, controls, specialty sprays, storage, support, lighting, and custom glass add product decisions and rough-work dependencies. Confirm who measures, supplies, receives, protects, installs, tests, and services each component.

Existing conditions and surrounding repair: damage, unsuitable backing, out-of-position plumbing, limited access, floor variation, ventilation work, and repair beyond the shower boundary can change the scope. The proposal should state known conditions, assumptions, exclusions, and the process for discoveries and authorized changes.

Timeline: selection deadlines, product availability, inspection points, waterproofing tests, cure periods, custom-glass measurement and fabrication, trade coordination, and correction work can control the sequence. Compare milestones and dependencies instead of relying only on one start and finish date.

Turn decisions into a clearer brief

Bring the room, priorities, and open questions into one plan

Organize what should stay, what needs to change, and which measurements or conditions still need professional verification.

Build and verify the shower in the right order

Products and room conditions can change the schedule, but the work should move through clear decision, inspection, test, and closeout milestones.

  1. Document the room

    Measure the opening, floor, walls, ceiling, drain, valves, fixtures, approach, adjacent surfaces, ventilation, and visible condition concerns before defining the project boundary.

  2. Choose the entry and footprint

    Compare same-footprint, expanded, curbed, lower-entry, enclosed, and open concepts with actual structure, circulation, drainage, splash, storage, reach, and household use.

  3. Specify the complete assembly

    Name the receptor or floor system, drain, waterproofing, substrate, walls, penetrations, niches, bench, fixtures, enclosure, transitions, preparation, and compatible installation materials.

  4. Coordinate rough work

    Resolve framing, blocking, plumbing, electrical work, lighting, ventilation, controls, support, product dimensions, inspections, access, and close-in responsibilities before finishes begin.

  5. Install and test the wet area

    Complete the required preparation, receptor or shower floor, waterproofing, tests, wall finish, grout or panel joints, sealants, fixtures, drainage checks, and cure periods in sequence.

  6. Measure and install the enclosure

    Field-measure custom glass at the specified finish milestone, then verify support, hardware, swing, seals, clearances, spray control, movement, and cleaning access.

  7. Close out the project

    Review drainage, controls, outlets, enclosure operation, surfaces, sealants, ventilation, corrections, care instructions, spare materials, product records, and written warranty information.

Make sure each proposal describes the same shower

Totals are not comparable until products, assembly layers, repair limits, responsibilities, milestones, and closeout are aligned.

Room and removal

  • Field measurements, photographs, retained work, demolition boundary, protection, debris handling, access, and surrounding repair.

  • Known conditions, assumptions, exclusions, allowance treatment, discovery process, and written change authorization.

Assembly and products

  • Receptor or floor, drain, waterproofing, substrate, walls, niches, bench, fixtures, glass, hardware, sealants, transitions, quantities, and accessories.

  • Supply responsibility, product substitutions, preparation, installation, testing, inspections, cure periods, storage, damage, and service access.

Schedule and closeout

  • Selection dates, ordering, rough work, close-in, waterproofing test, finish installation, glass templating, fabrication, correction, and return-to-use milestones.

  • Final drainage and fixture checks, enclosure operation, ventilation, walkthrough, corrections, care information, spare materials, records, and warranties.

Common questions

Frequently asked questions

What is included in a complete shower remodel?

A complete scope can include removal, receptor or shower-floor construction, drain work, waterproofing, substrate, tile or panels, valves and shower outlets, storage, seating, enclosure, lighting, ventilation, transitions, surrounding repair, testing, cleanup, and closeout. The proposal should identify exactly what stays, what changes, and what is excluded.

Can a shower be remodeled without moving the drain?

Often the existing drain and valve locations can remain when the current footprint supports the desired result, but their condition, position, compatibility, and connection still need field verification. Keeping useful rough-ins may reduce affected work, while a relocation should solve a measured layout, entry, or fixture problem.

Should I choose shower wall panels or tile?

Compare the complete systems rather than the surface alone. Consider substrate, waterproofing compatibility, dimensions, seams or grout, corners, exposed edges, penetrations, cleaning, repair access, layout flexibility, lead time, installation requirements, and who is responsible for every accessory and transition.

What makes a shower lower entry or curbless?

The visible threshold is only one part of the design. Floor structure, shower-floor elevation, slope, drain route, waterproofing continuity, bathroom-floor height, enclosure, spray direction, approach, traction, and user needs determine whether a lower transition is workable in a specific room.

When is custom shower glass measured?

The responsible professional should define the correct field-measurement milestone after the surfaces that control the opening are complete and verified. The proposal should also assign responsibility for support, fabrication, delivery, hardware, seals, installation, operation, corrections, and cleaning access.

What can change shower remodeling cost?

Important drivers include the existing opening and conditions, footprint, entry, structure, drain and valve work, receptor type, waterproofing, wall area and finish, niches and benches, fixtures, glass, surrounding repair, access, tests, inspections, product availability, and sequencing. Compare the same written scope rather than one broad average.

How long can a shower remodel take?

The schedule depends on demolition findings, rough-work changes, inspection and test milestones, system type, tile or panel installation, cure periods, product lead times, custom glass measurement and fabrication, trade coordination, corrections, and closeout. Ask for milestones and dependencies instead of relying only on one completion date.

How should I compare shower remodeling proposals?

Use the same measured project brief and compare removal, retained work, complete assembly layers, products, quantities, allowances, surrounding repair, responsibilities, tests, inspections, schedule assumptions, changes, cleanup, corrections, care information, and warranties line by line. A lower total may describe a smaller or less complete installation.

Find shower remodeling planning by location

Choose a reviewed state or city page when available, then confirm the actual address, project scope, professional availability, and proposal terms directly.

Sources and methodology

Research & methodology

Sources

References supporting the planning guidance on this page.

  1. Your Better BathroomU.S. Environmental Protection Agency WaterSense
    Government sourceAccessed
  2. The WaterSense LabelU.S. Environmental Protection Agency WaterSense
    Government sourceAccessed
  3. Ventilation FansENERGY STAR
    Government sourceAccessed
  4. Standards sourceAccessed
  5. Government sourceAccessed
  6. Bathroom Planning GuidelinesNational Kitchen & Bath Association
    Trade sourceAccessed
  7. Trade sourceAccessed
  8. Showers FAQTile Council of North America
    Trade sourceAccessed

Your clearer next step

Talk through the bathroom you want to change

You do not need a finished drawing, complete product list, or every design decision before the first call. Be ready to describe the current room, what is not working, and your priorities for bathing, storage, lighting, access, style, budget, or timing.