
How to use it
Keep the planning simple.
- Decide. Focus on how the room should work and feel.
- Save. Keep photos, ideas, and proposal notes together.
- Ask. Leave technical verification to qualified professionals.
Stage 1 of 6
Start with the changes that matter most
Decide what is not working in the current bathroom and what a successful remodel should improve. Keep the first plan focused on daily use, comfort, storage, and the budget you want to protect.
Four things to do
- Choose your top three goals.
Examples include easier shower entry, better storage, brighter lighting, or simpler cleaning.
- List who uses the bathroom.
Think about children, guests, mobility needs, shared routines, and anyone who may need assistance.
- Mark what can stay and what should change.
Review the tub or shower, vanity, toilet, storage, lighting, doors, and ventilation.
- Set a comfortable working budget.
Leave room for optional upgrades and surprises without treating every idea as a must-have.
Ask the professional
- Which of my three goals do you think is hardest to achieve in this room, and why?
- Would you approach this as a fixture-level change or a full remodel, and what makes you say that?
- What would you expect to find behind the walls in a house of this age?
Stage 2 of 6
Capture the room as it is today
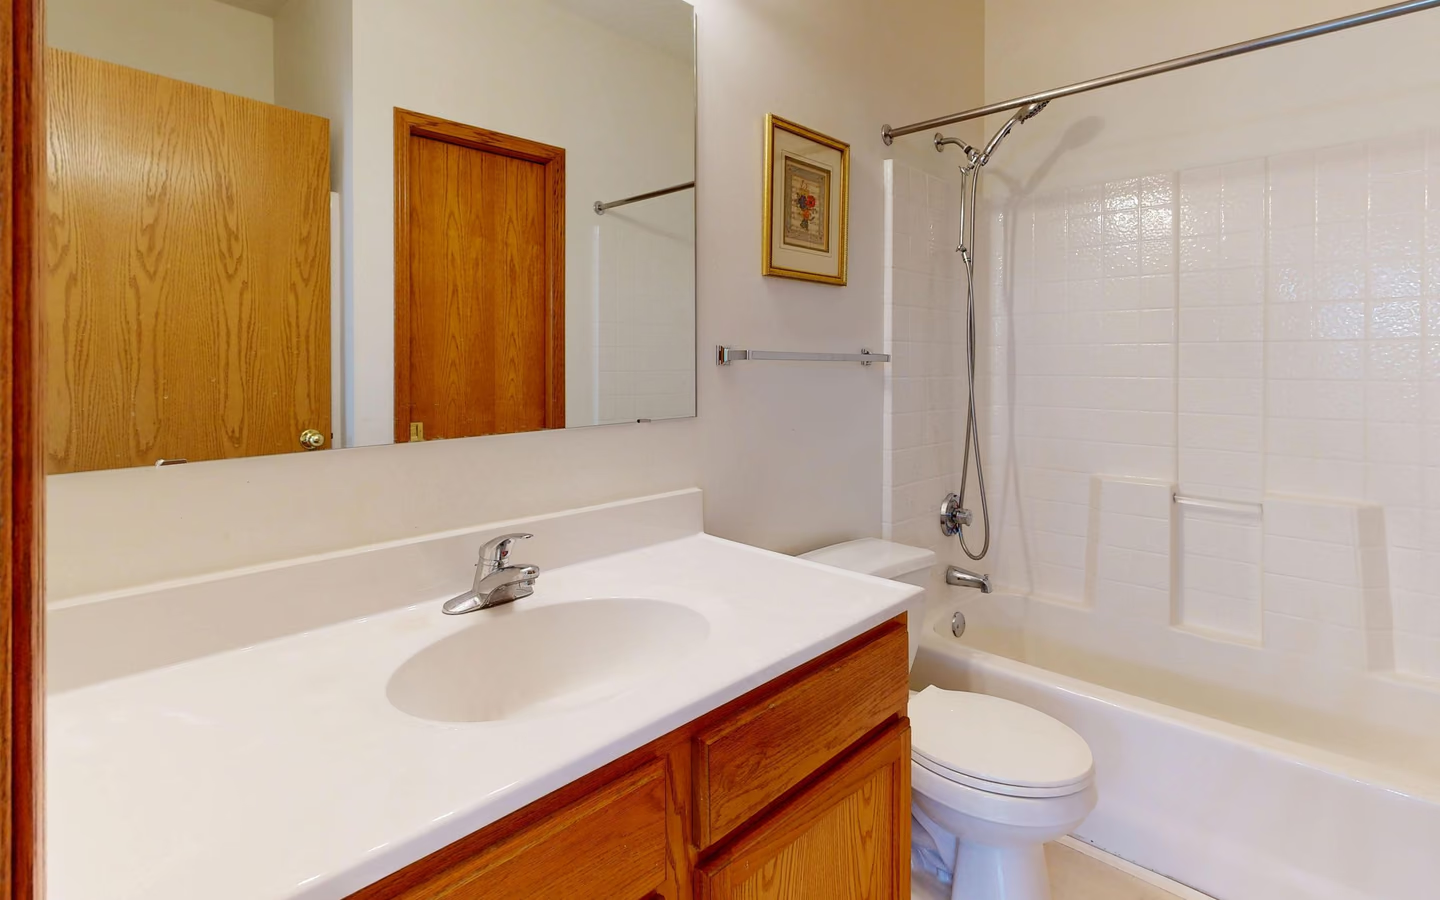
A few measurements and clear photos give a remodeling professional a useful starting point. You do not need to create construction drawings or diagnose anything behind the walls.
Four things to do
- Measure the room and major fixtures.
Record approximate wall lengths, ceiling height, vanity width, and the tub or shower footprint.
- Photograph each wall.
Add a few close photos of damage, awkward storage, difficult clearances, or anything you want changed.
- Note the problems you notice.
Mention slow drains, weak ventilation, poor lighting, damaged finishes, or leaks without trying to diagnose the cause.
- Record access to the room.
Take note of narrow halls, stairs, parking, elevators, or other routes that could affect deliveries and cleanup.
Ask the professional
- Do my measurements match what you see, and where do they differ?
- Are the current clearances at the toilet, shower, and door workable, or are they part of the problem?
- Is there anything about the existing plumbing or venting that limits what we can do?
Stage 3 of 6
Choose a direction for the whole room
Start with layout, bathing, storage, and style before selecting every product. Save exact fixtures and finishes only after you know they fit the room and the budget.
Four things to do
- Decide whether the layout should stay or change.
Only consider moving fixtures when the new arrangement solves a real problem with access, storage, or use.
- Choose the bathing setup.
Compare a tub, walk-in shower, tub and shower combination, seating, storage, and easier-entry options.
- Save a small set of inspiration images.
Pick rooms that reflect the colors, materials, lighting, and overall feeling you want.
- Make a short product wish list.
Include the vanity, toilet, faucets, mirror, lighting, storage, and special features without locking every selection yet.
Ask the professional
- Which parts of this design drive the most cost, and what would you change first to reduce it?
- What waterproofing method will you use in the wet area, and why that one?
- How will the room be ventilated, and where does the duct terminate?
Stage 4 of 6
Compare what each proposal includes
The lowest total is not always the same project. Read each proposal for the work, products, allowances, schedule, responsibilities, and items that are not included.
Four things to do
- Confirm that every proposal covers the same scope.
Use your room record and priorities so each professional is pricing the same basic project.
- Compare products and allowances.
Check what is included, what you will choose later, and what could change the final price.
- Review timing and responsibilities.
Look for expected start and completion timing, ordering, cleanup, permits, and homeowner-supplied items.
- Ask about exclusions and changes.
Understand what is not included and how added work or hidden conditions would be approved and priced.
Ask the professional
- What is included, and what is explicitly excluded from this price?
- What are your allowances for tile, fixtures, and the vanity, and what happens if I exceed them?
- How are change orders priced and approved once work has started?
- Who is licensed for the plumbing and electrical work, and will they pull the permits?
Stage 5 of 6
Get the home ready before work begins
Once the scope and schedule are confirmed, prepare the bathroom and the household for construction. Focus on access, daily routines, belongings, pets, and communication.
Four things to do
- Confirm the scope, selections, and start date.
Make sure the current agreement reflects the decisions you approved before the room is emptied.
- Plan for bathing and toilet access.
Know what will be unavailable, for how long, and what the household will use instead.
- Remove personal and fragile items.
Clear toiletries, medicine, linens, art, valuables, and nearby items that could be affected by dust or traffic.
- Agree on access and communication.
Confirm work hours, keys or entry, pets, parking, daily updates, and who can answer project questions.
Ask the professional
- What is the expected sequence, and which stages depend on inspection or delivery dates?
- Which bathroom will the household use, and how long will the work area be unusable?
- How will dust, access, and daily cleanup be handled?
- For an older home, how will you handle lead-safe or asbestos-aware work if it is needed?
Stage 6 of 6
Walk through the finished bathroom
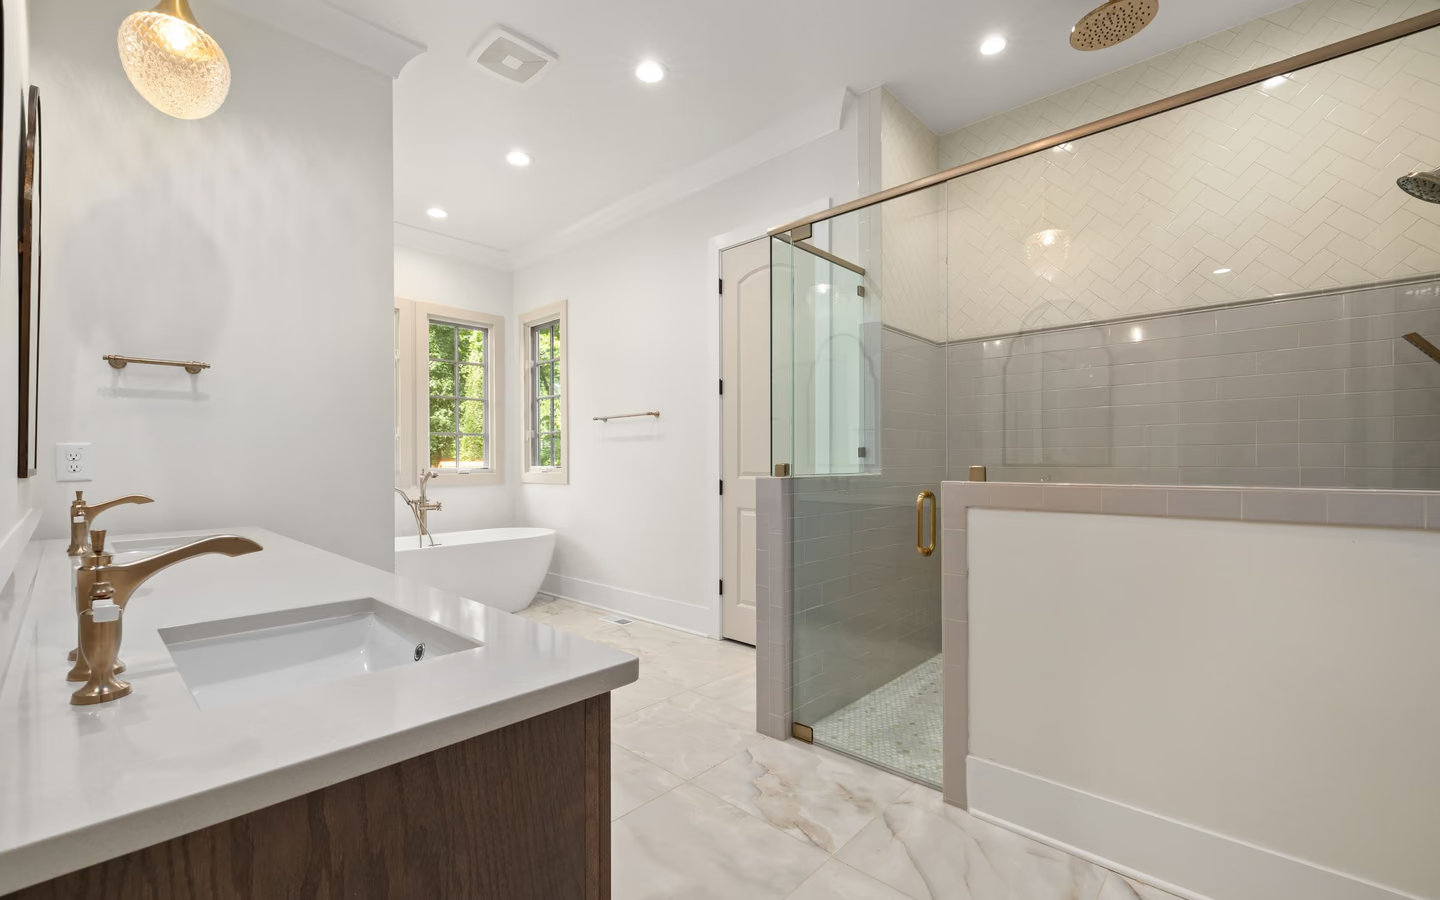
Use the room, look closely at the visible work, and write down anything that still needs attention. Collect the product and warranty information you may need later.
Four things to do
- Try every fixture and control.
Run the faucets and shower, flush the toilet, open doors and drawers, and test the lights and fan.
- Review the visible finishes.
Look at tile, grout, sealant, paint, cabinetry, counters, mirrors, glass, hardware, and floor transitions.
- Create one short open-item list.
Add photos and target dates so remaining corrections are easy for everyone to follow.
- Save care and warranty information.
Keep manuals, model numbers, approved cleaners, spare materials, warranties, and service contacts together.
Ask the professional
- Can you walk the room with me and explain what was done behind each surface?
- What documentation will I receive: permits, inspection records, warranties, and product manuals?
- What maintenance does this specific tile, grout, and glass need, and how often?
- Who do I contact if something fails, and for how long is that covered?
Sources and reference notes
These references support the planning guidance in this checklist. The selected professional, product instructions, and current local requirements control the actual work.
- Your Better BathroomU.S. Environmental Protection Agency WaterSense
- The WaterSense LabelU.S. Environmental Protection Agency WaterSense
- Ventilation FansENERGY STAR
- 2024 International Residential Code, Chapter 15: Exhaust SystemsInternational Code Council
- Guide to the ADA Accessibility Standards: Bathing RoomsU.S. Access Board
- Bathroom Planning GuidelinesNational Kitchen & Bath Association
- 2025 TCNA Handbook for Ceramic, Glass, and Stone Tile InstallationTile Council of North America
- Showers FAQTile Council of North America
- Steps to Lead Safe Renovation, Repair and PaintingU.S. Environmental Protection Agency
- I am remodeling my home. Do I need to be concerned about asbestos?U.S. Environmental Protection Agency